
How to Install Tiles on the Main Street Mural?
When you spot the Main Street Mural from far away, you immediately notice the bright colors, the smiling faces, the warmth that emanates from each spray of the paint can, inviting you to come in and get a closer look.
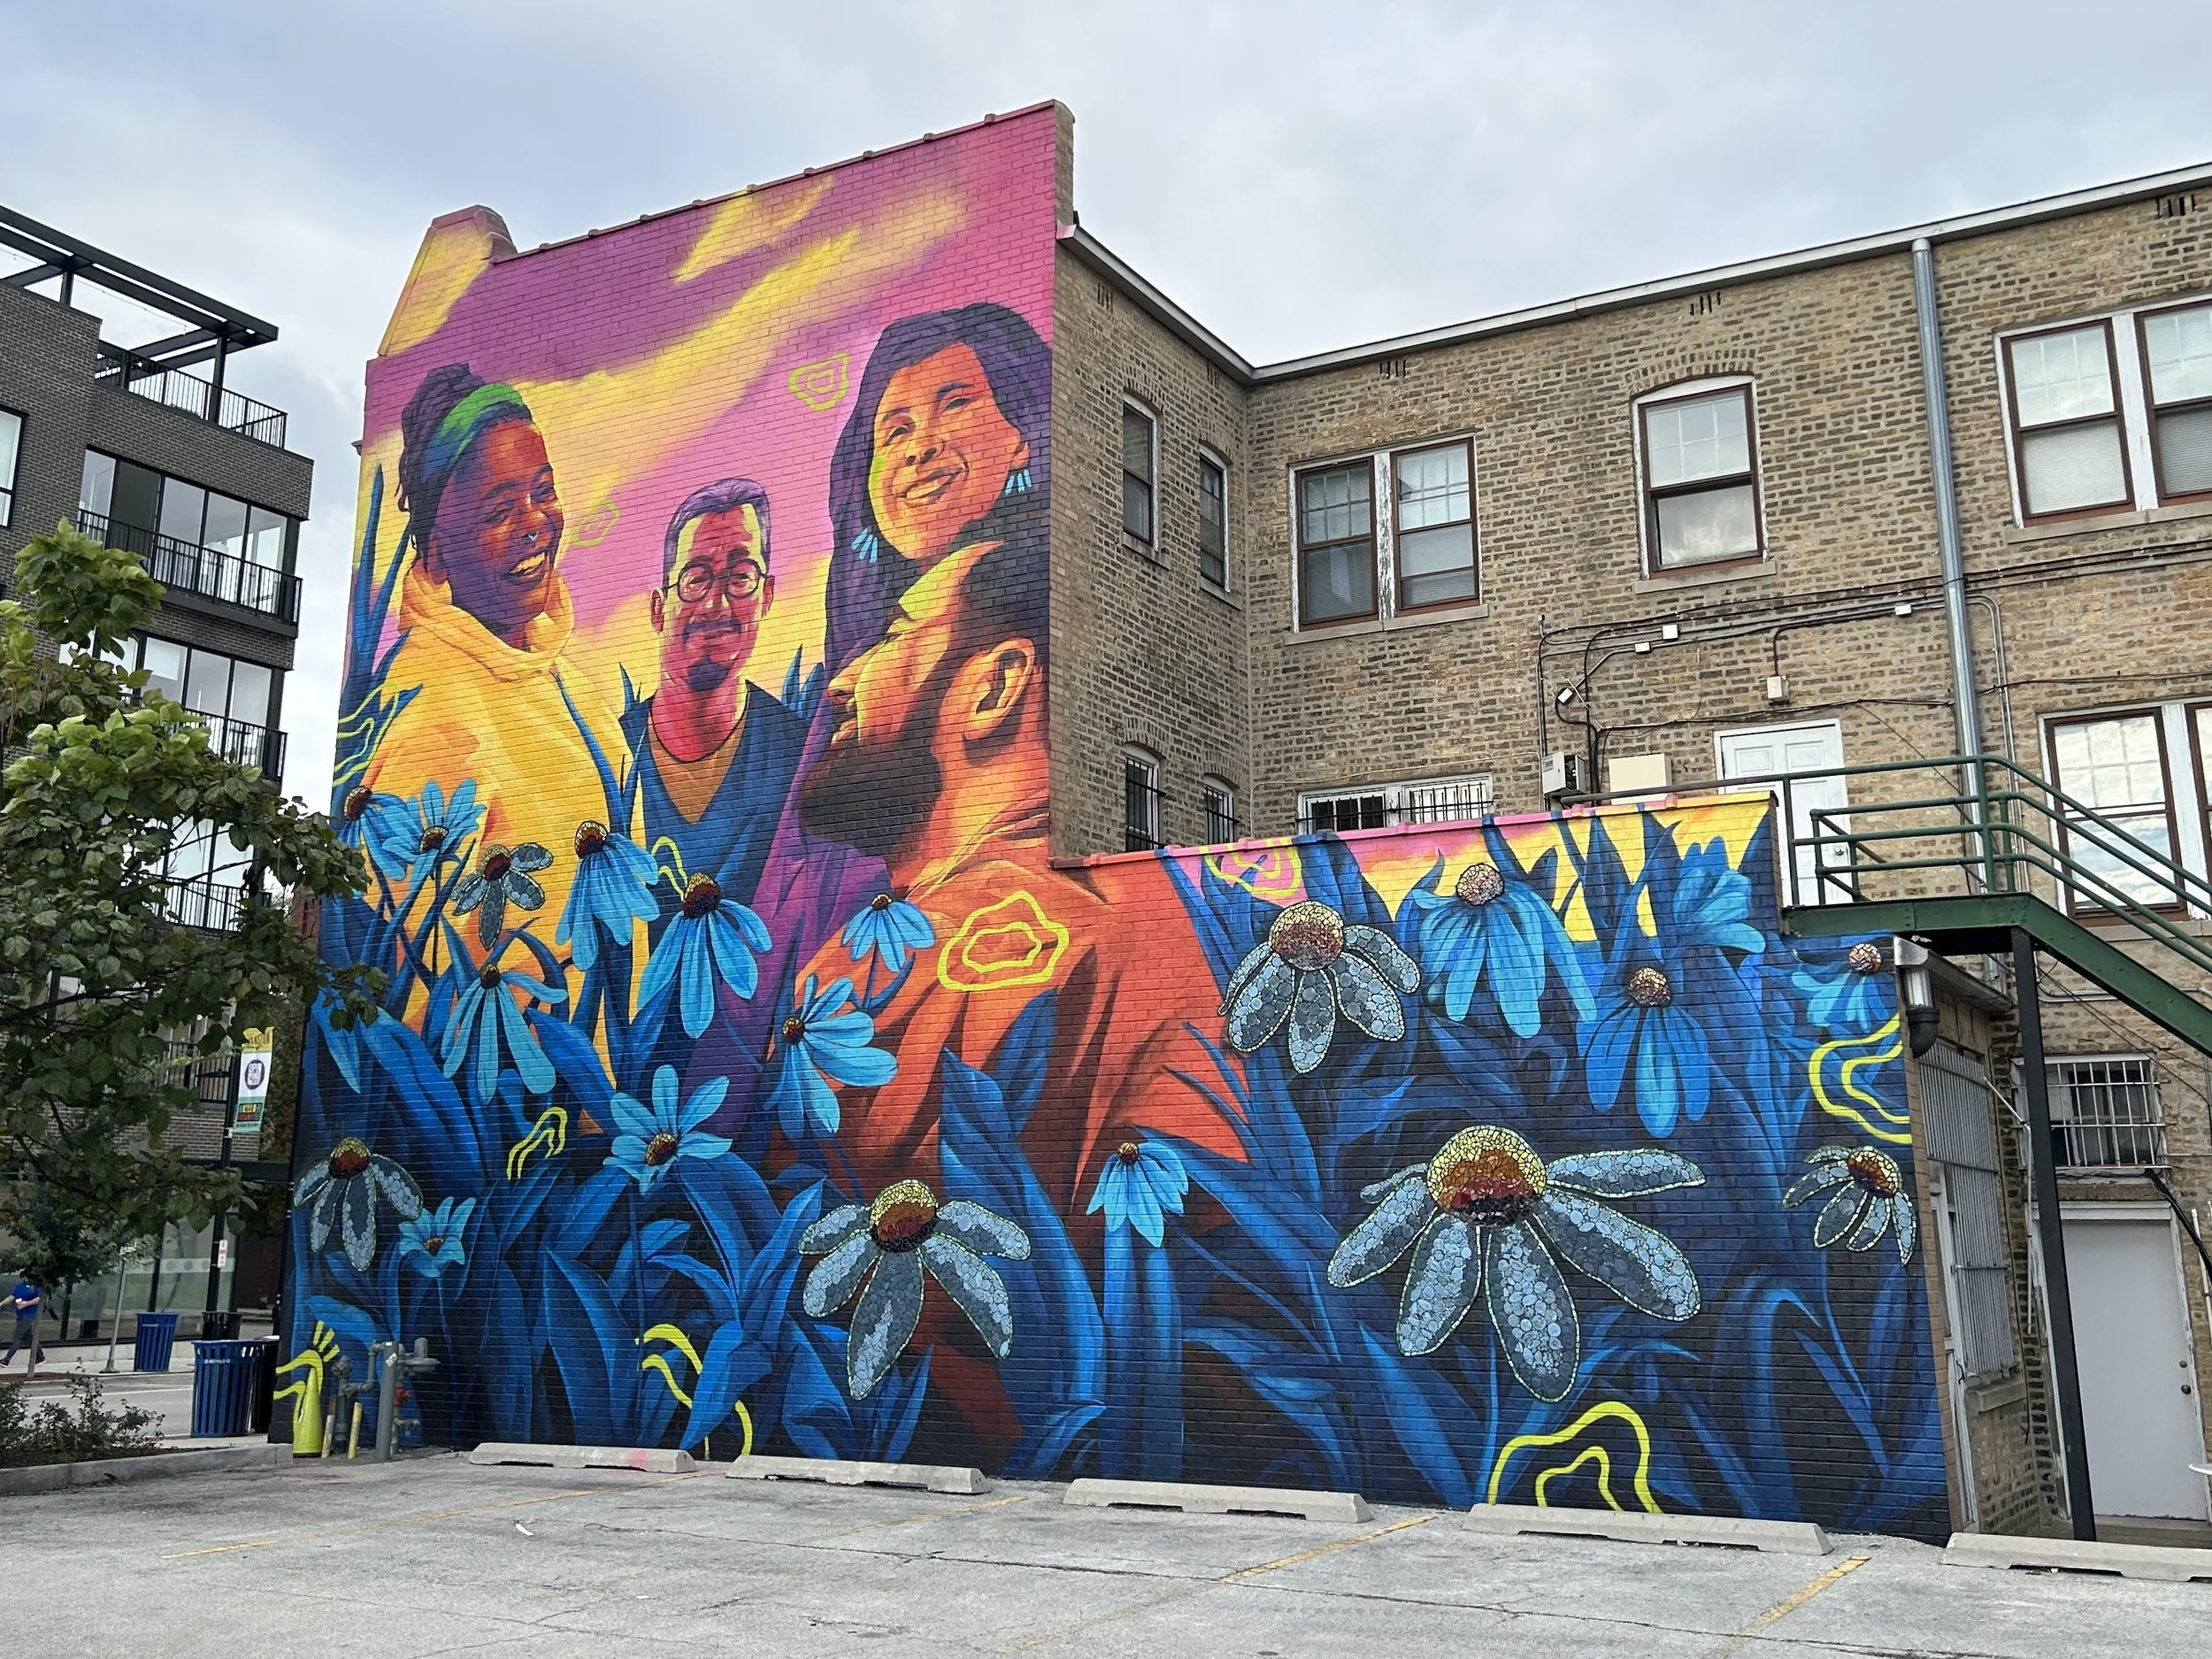
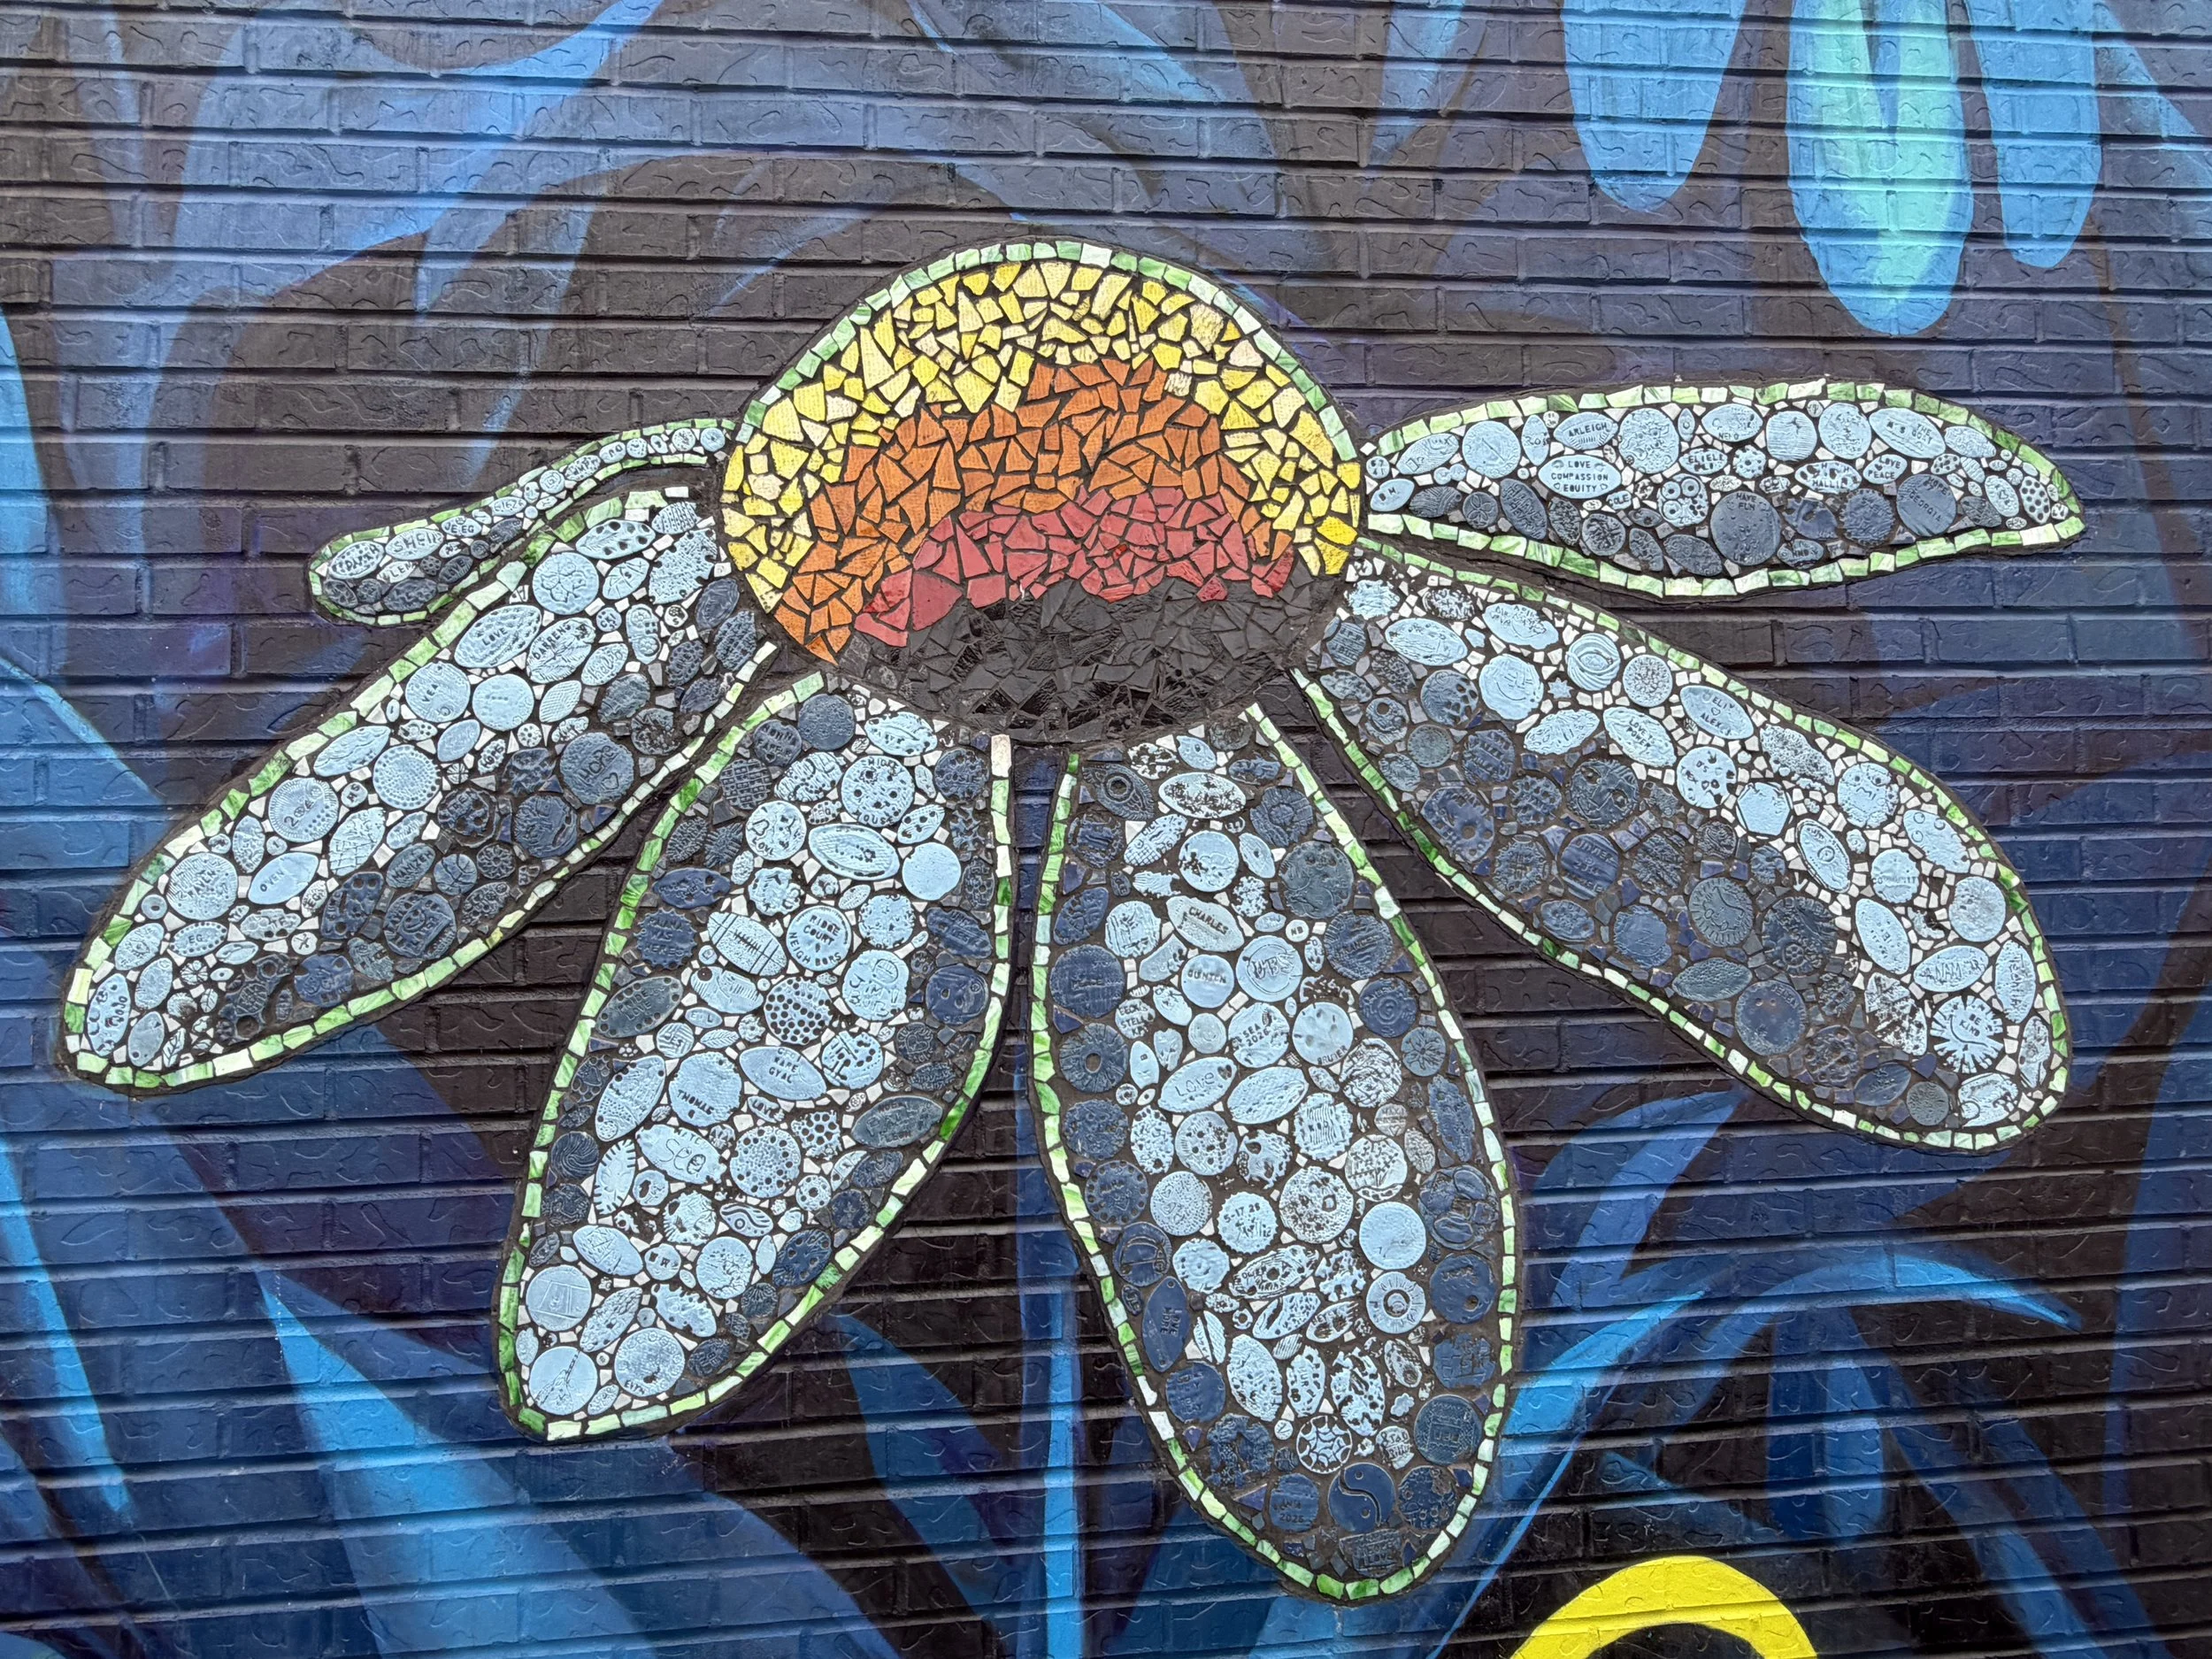
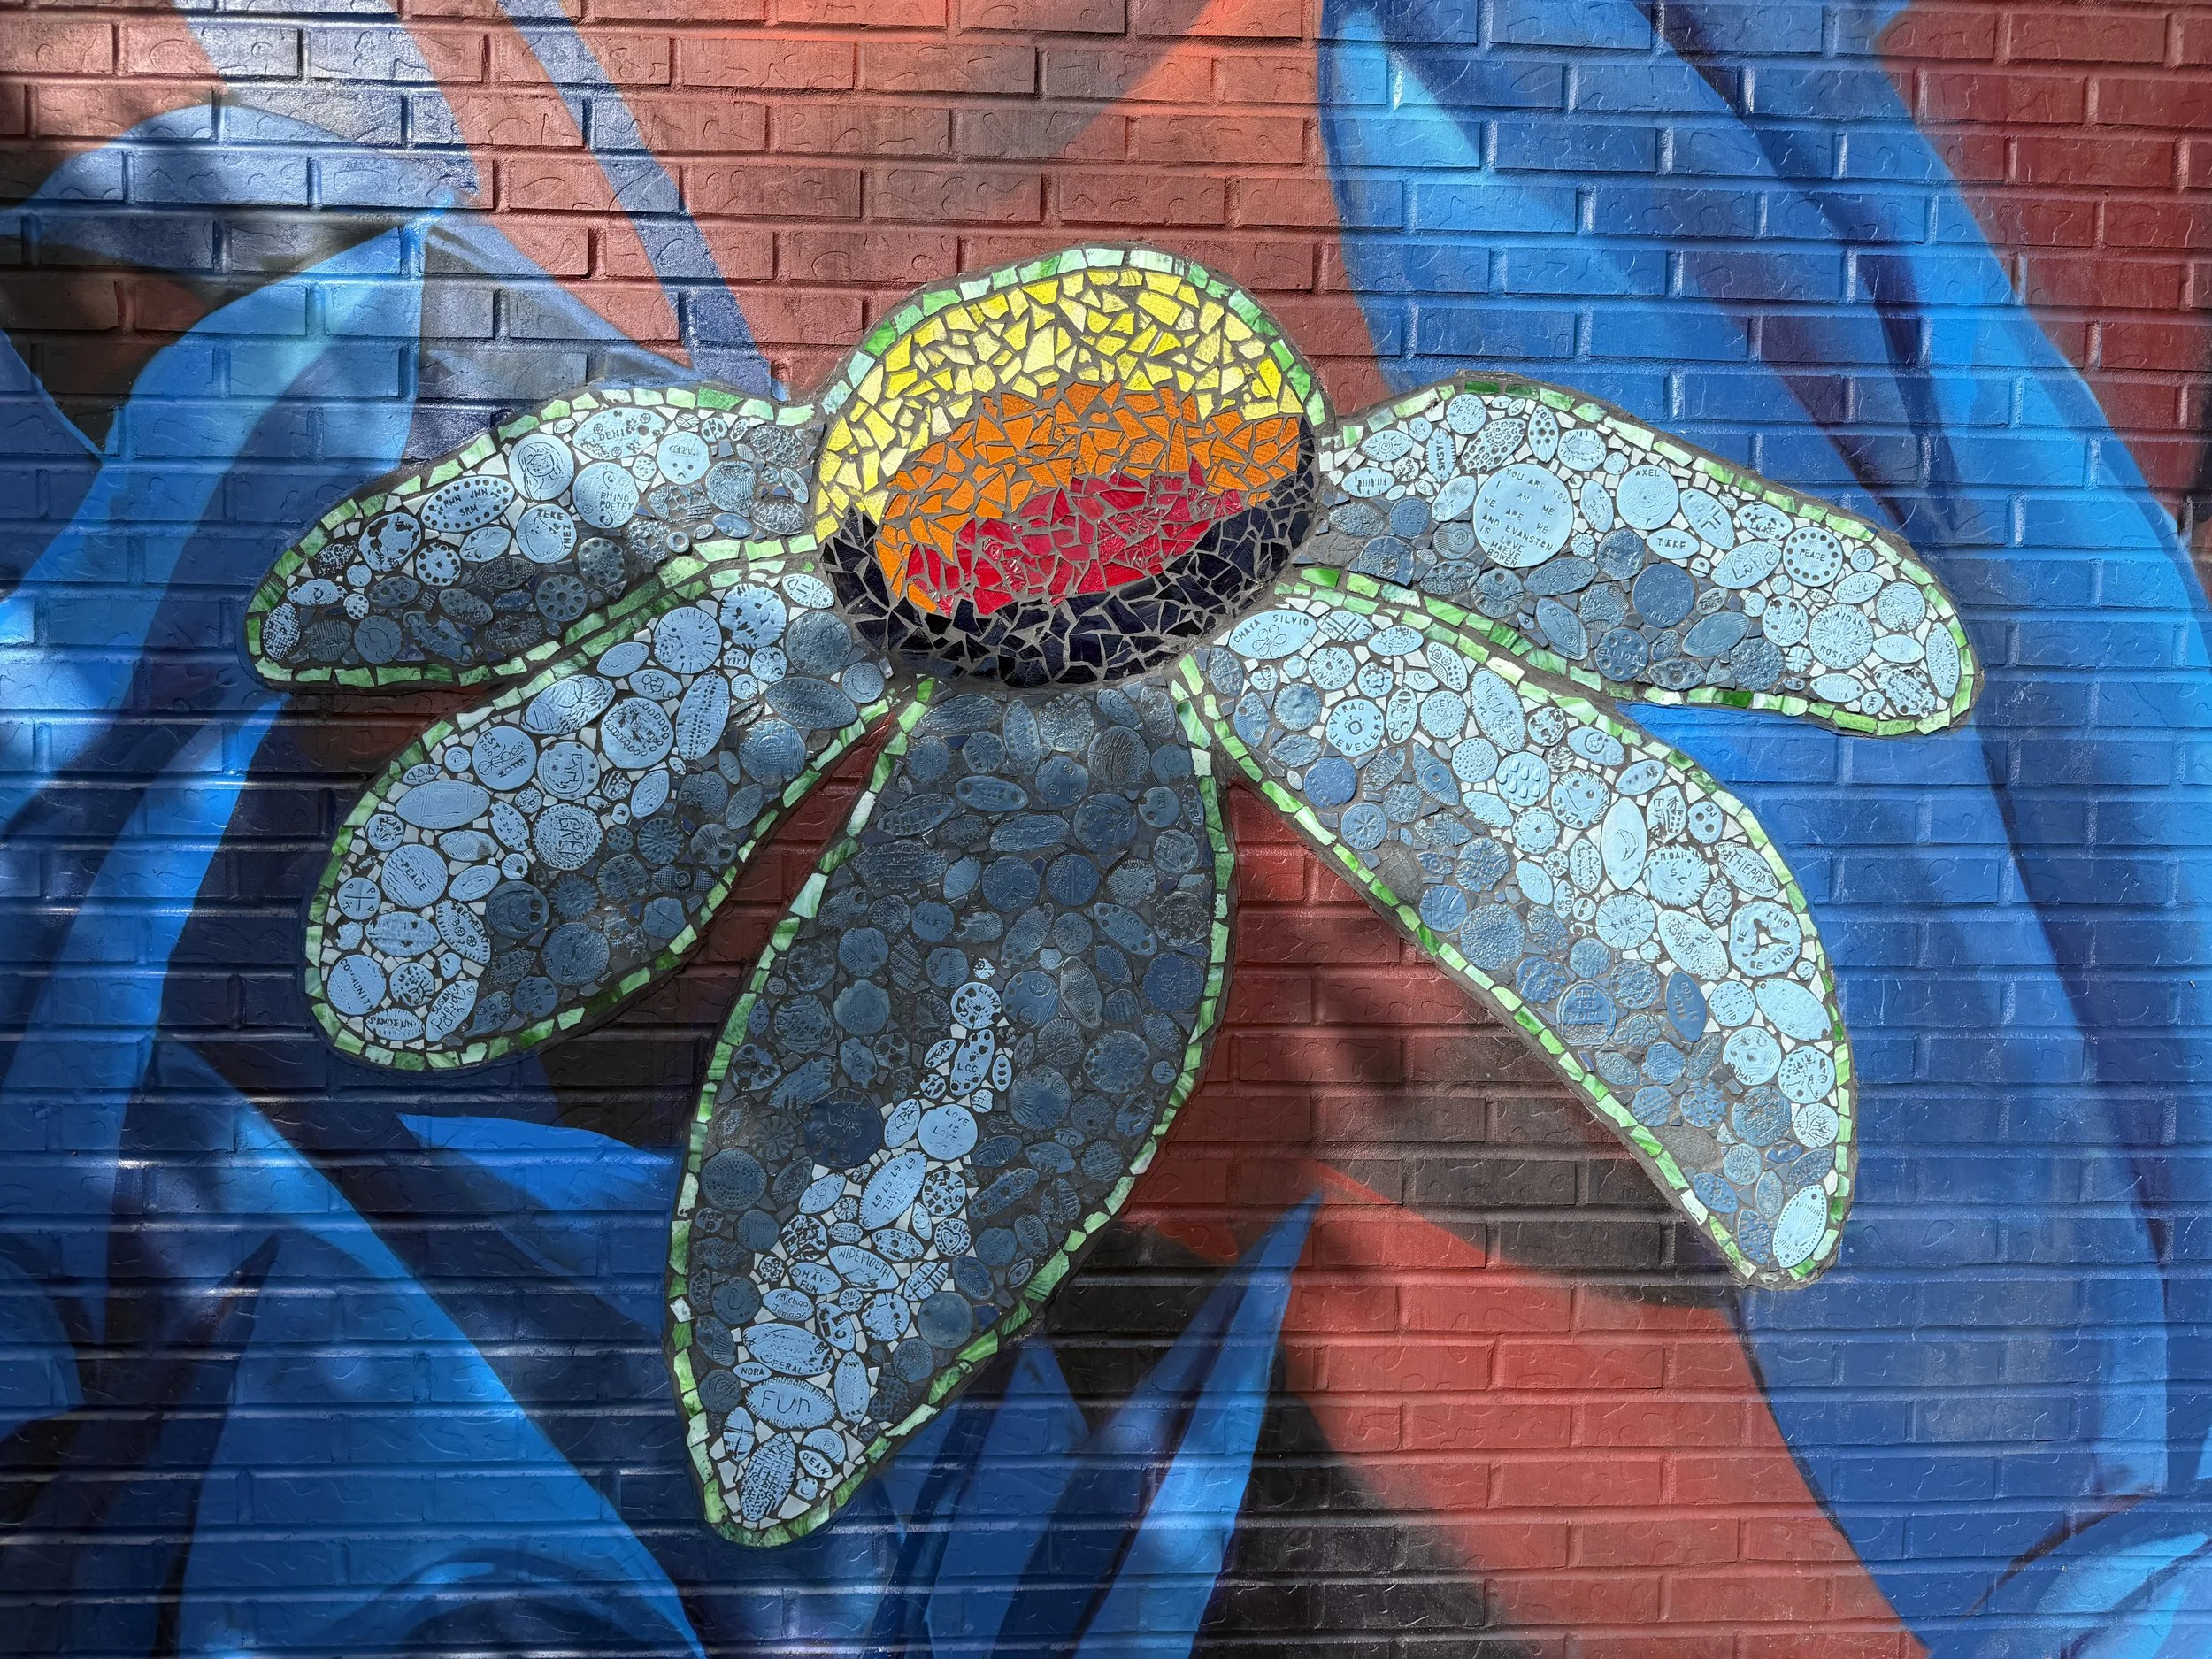
And should you choose to step forward and take a closer look, you might be surprised to find an array of flowers made of textured clay tiles and glimmering glass centers.
One of the defining characteristics of the Main Street mural is the collaboration that went into making it.
While the project was spearheaded by Open Studio Project and a group of artists – Oscar Joyo, Xavier Wynn and Edwige Massart, and Hope Washinushi – the community was integral in bringing this vision to life.
Not only did community members contribute input and ideas for the mural's design through a survey and community workshops, but hundreds of you showed up at events and in the studio to create tiles that would be installed on the mural.
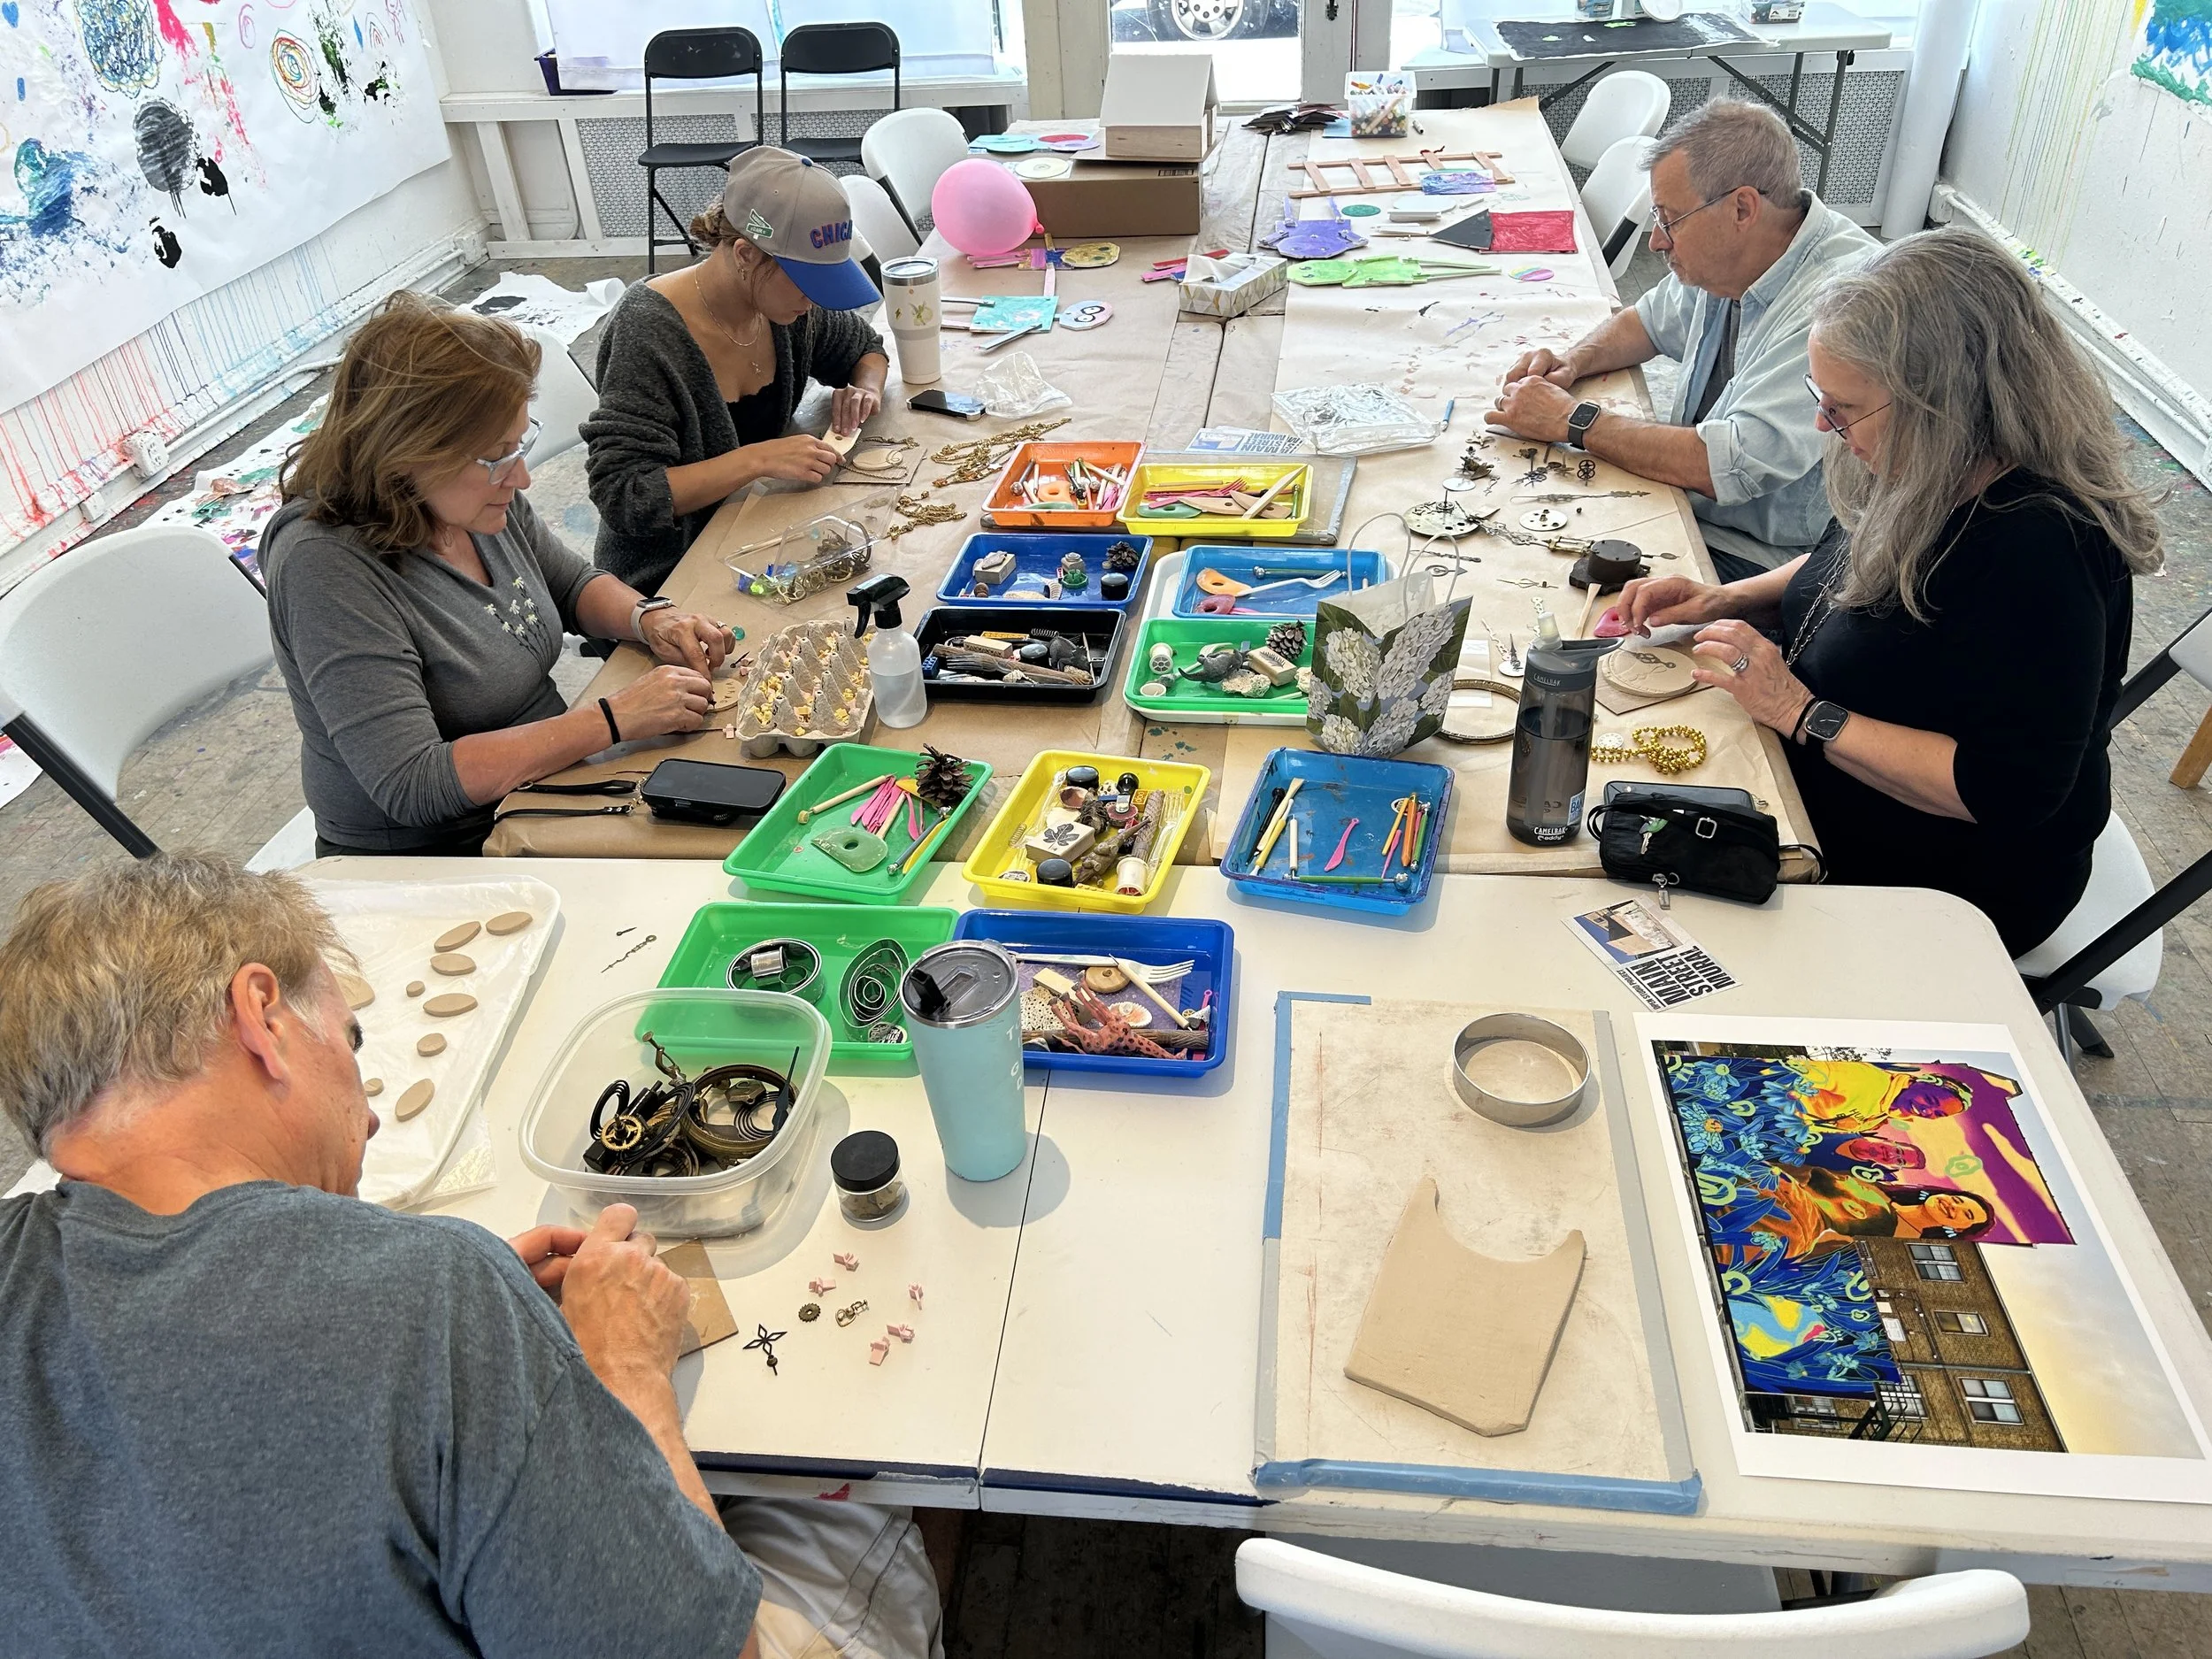
If you were one of the many people who created a tile for the mural, you might be wondering what the process was like to take your tile from initial design to mural install. Keep reading to find out!
Glaze and Fire
After the tiles were made by community members, we worked with Xavier Wynn to put the tiles through an initial firing in the kiln at Chicago Clay Co-Op. Once fired, the team painted on the glaze to prepare the tiles for the second firing.
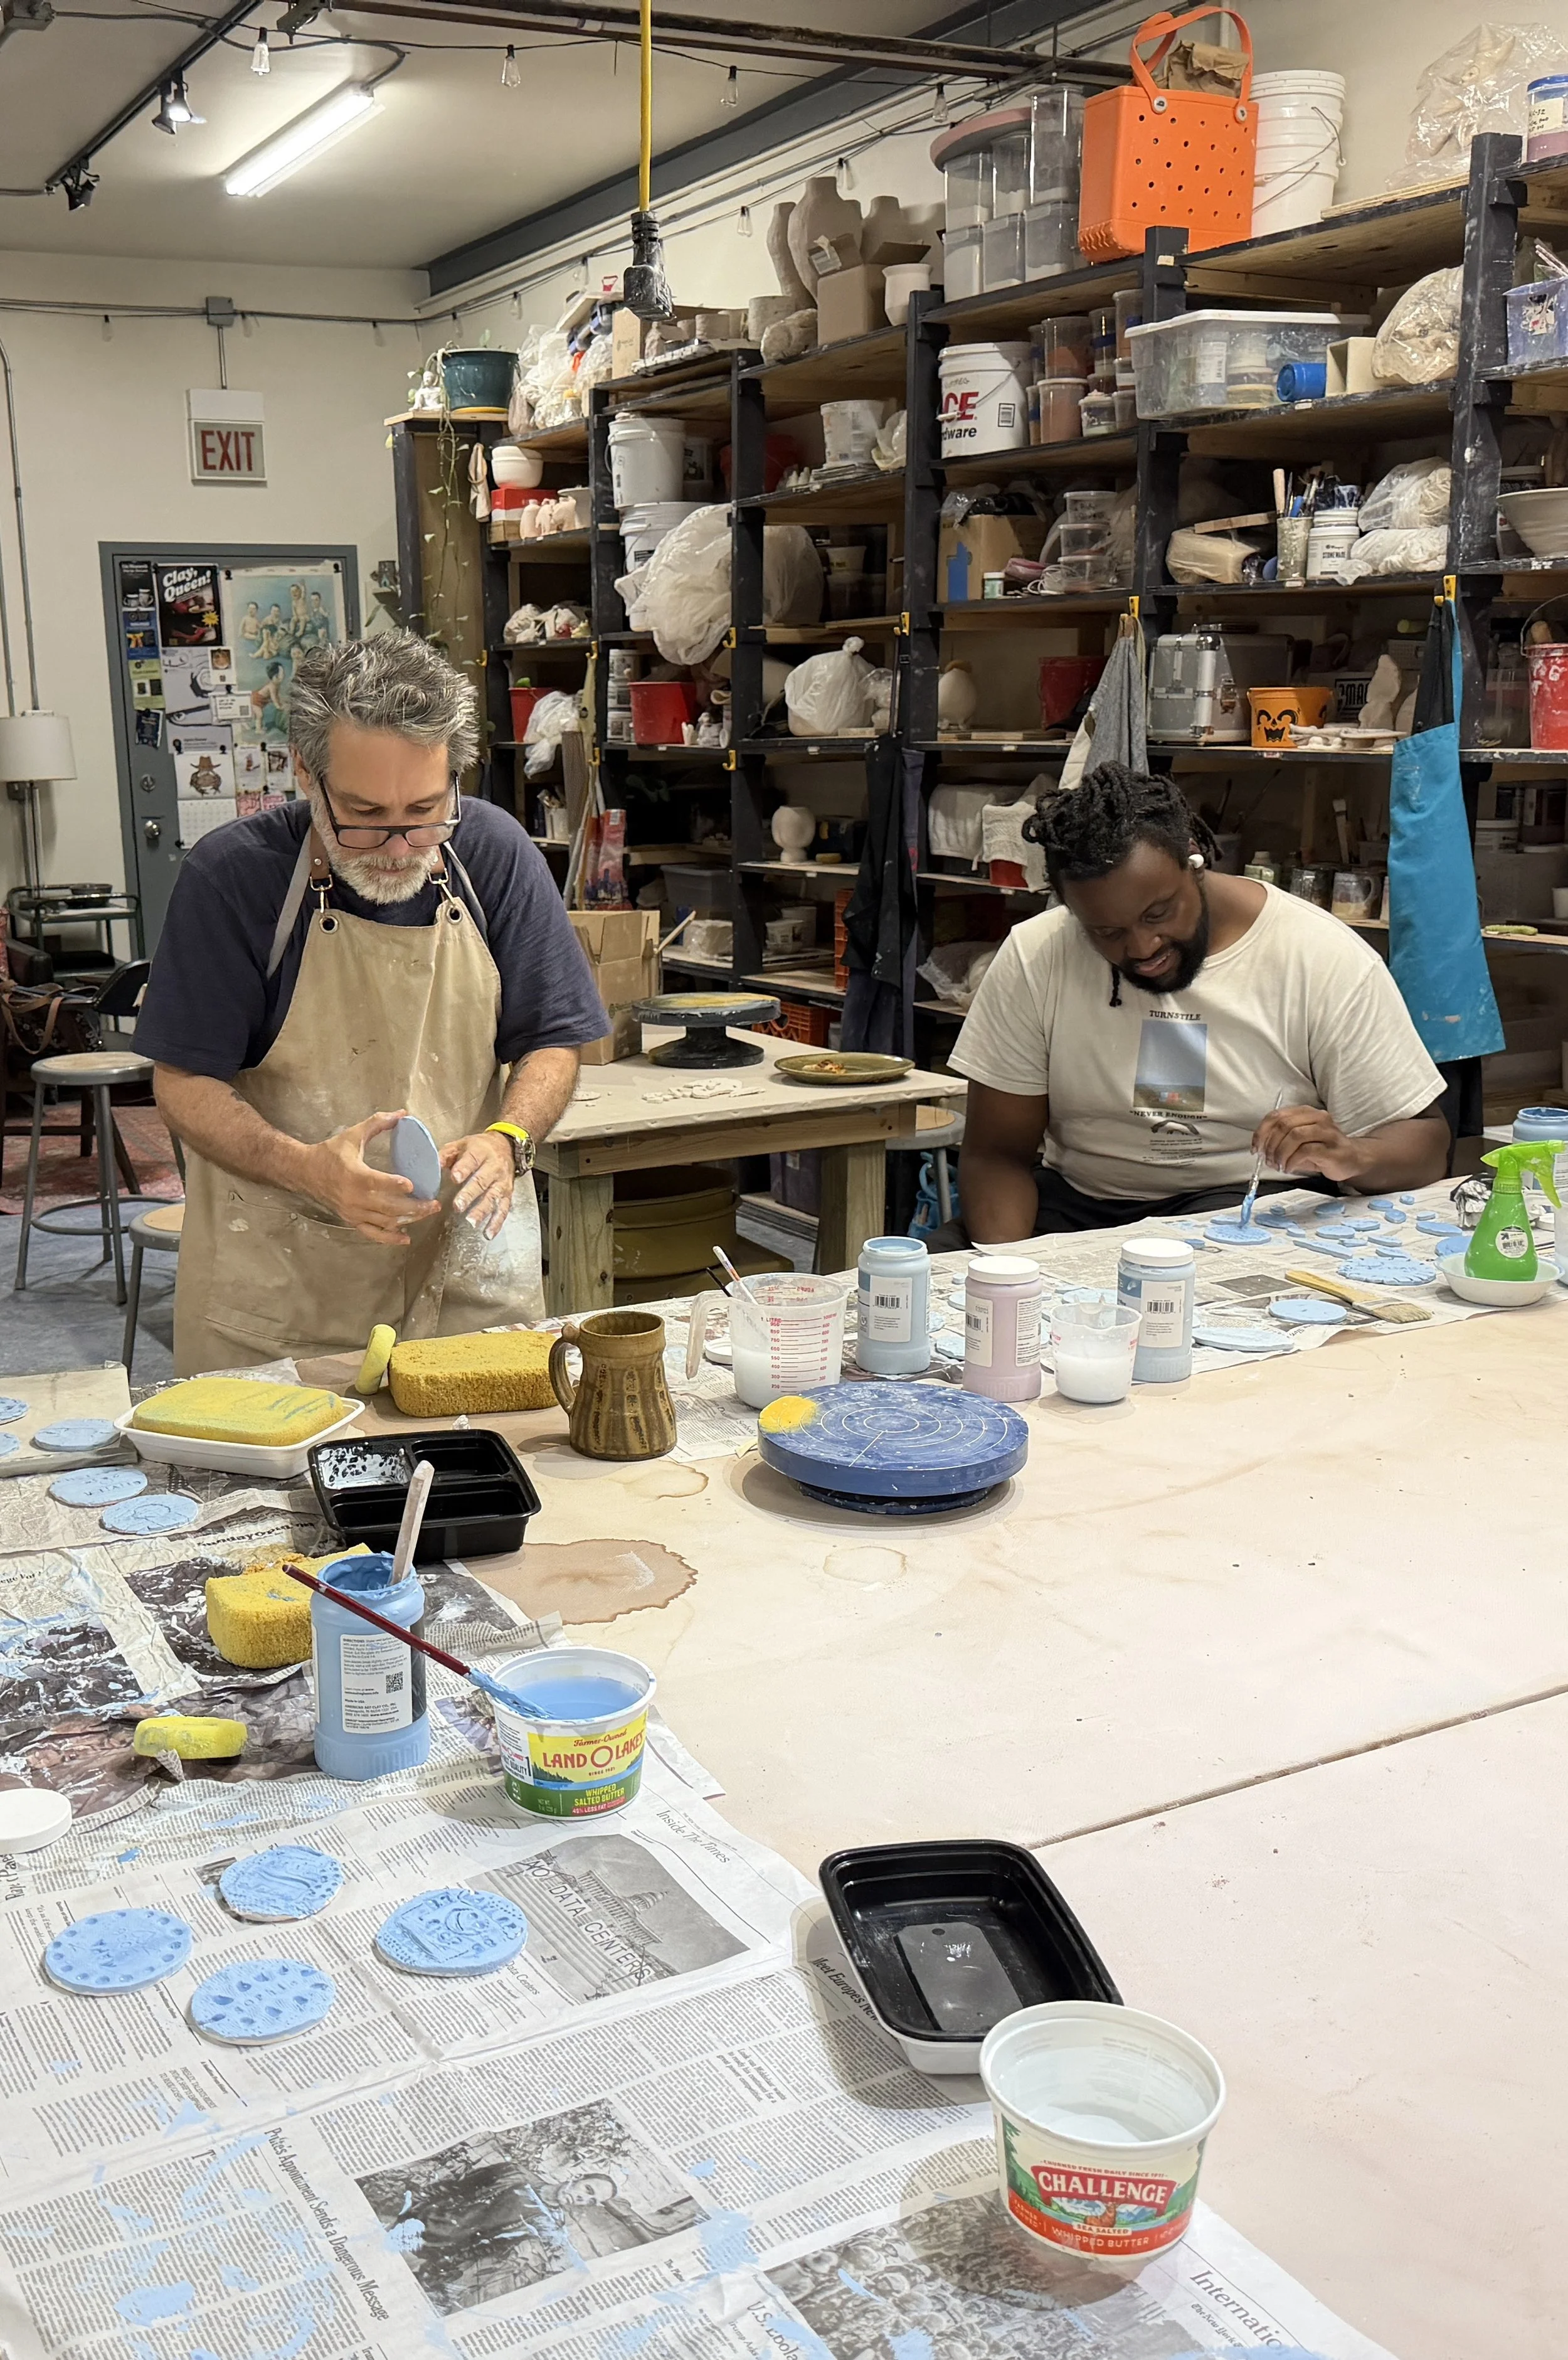
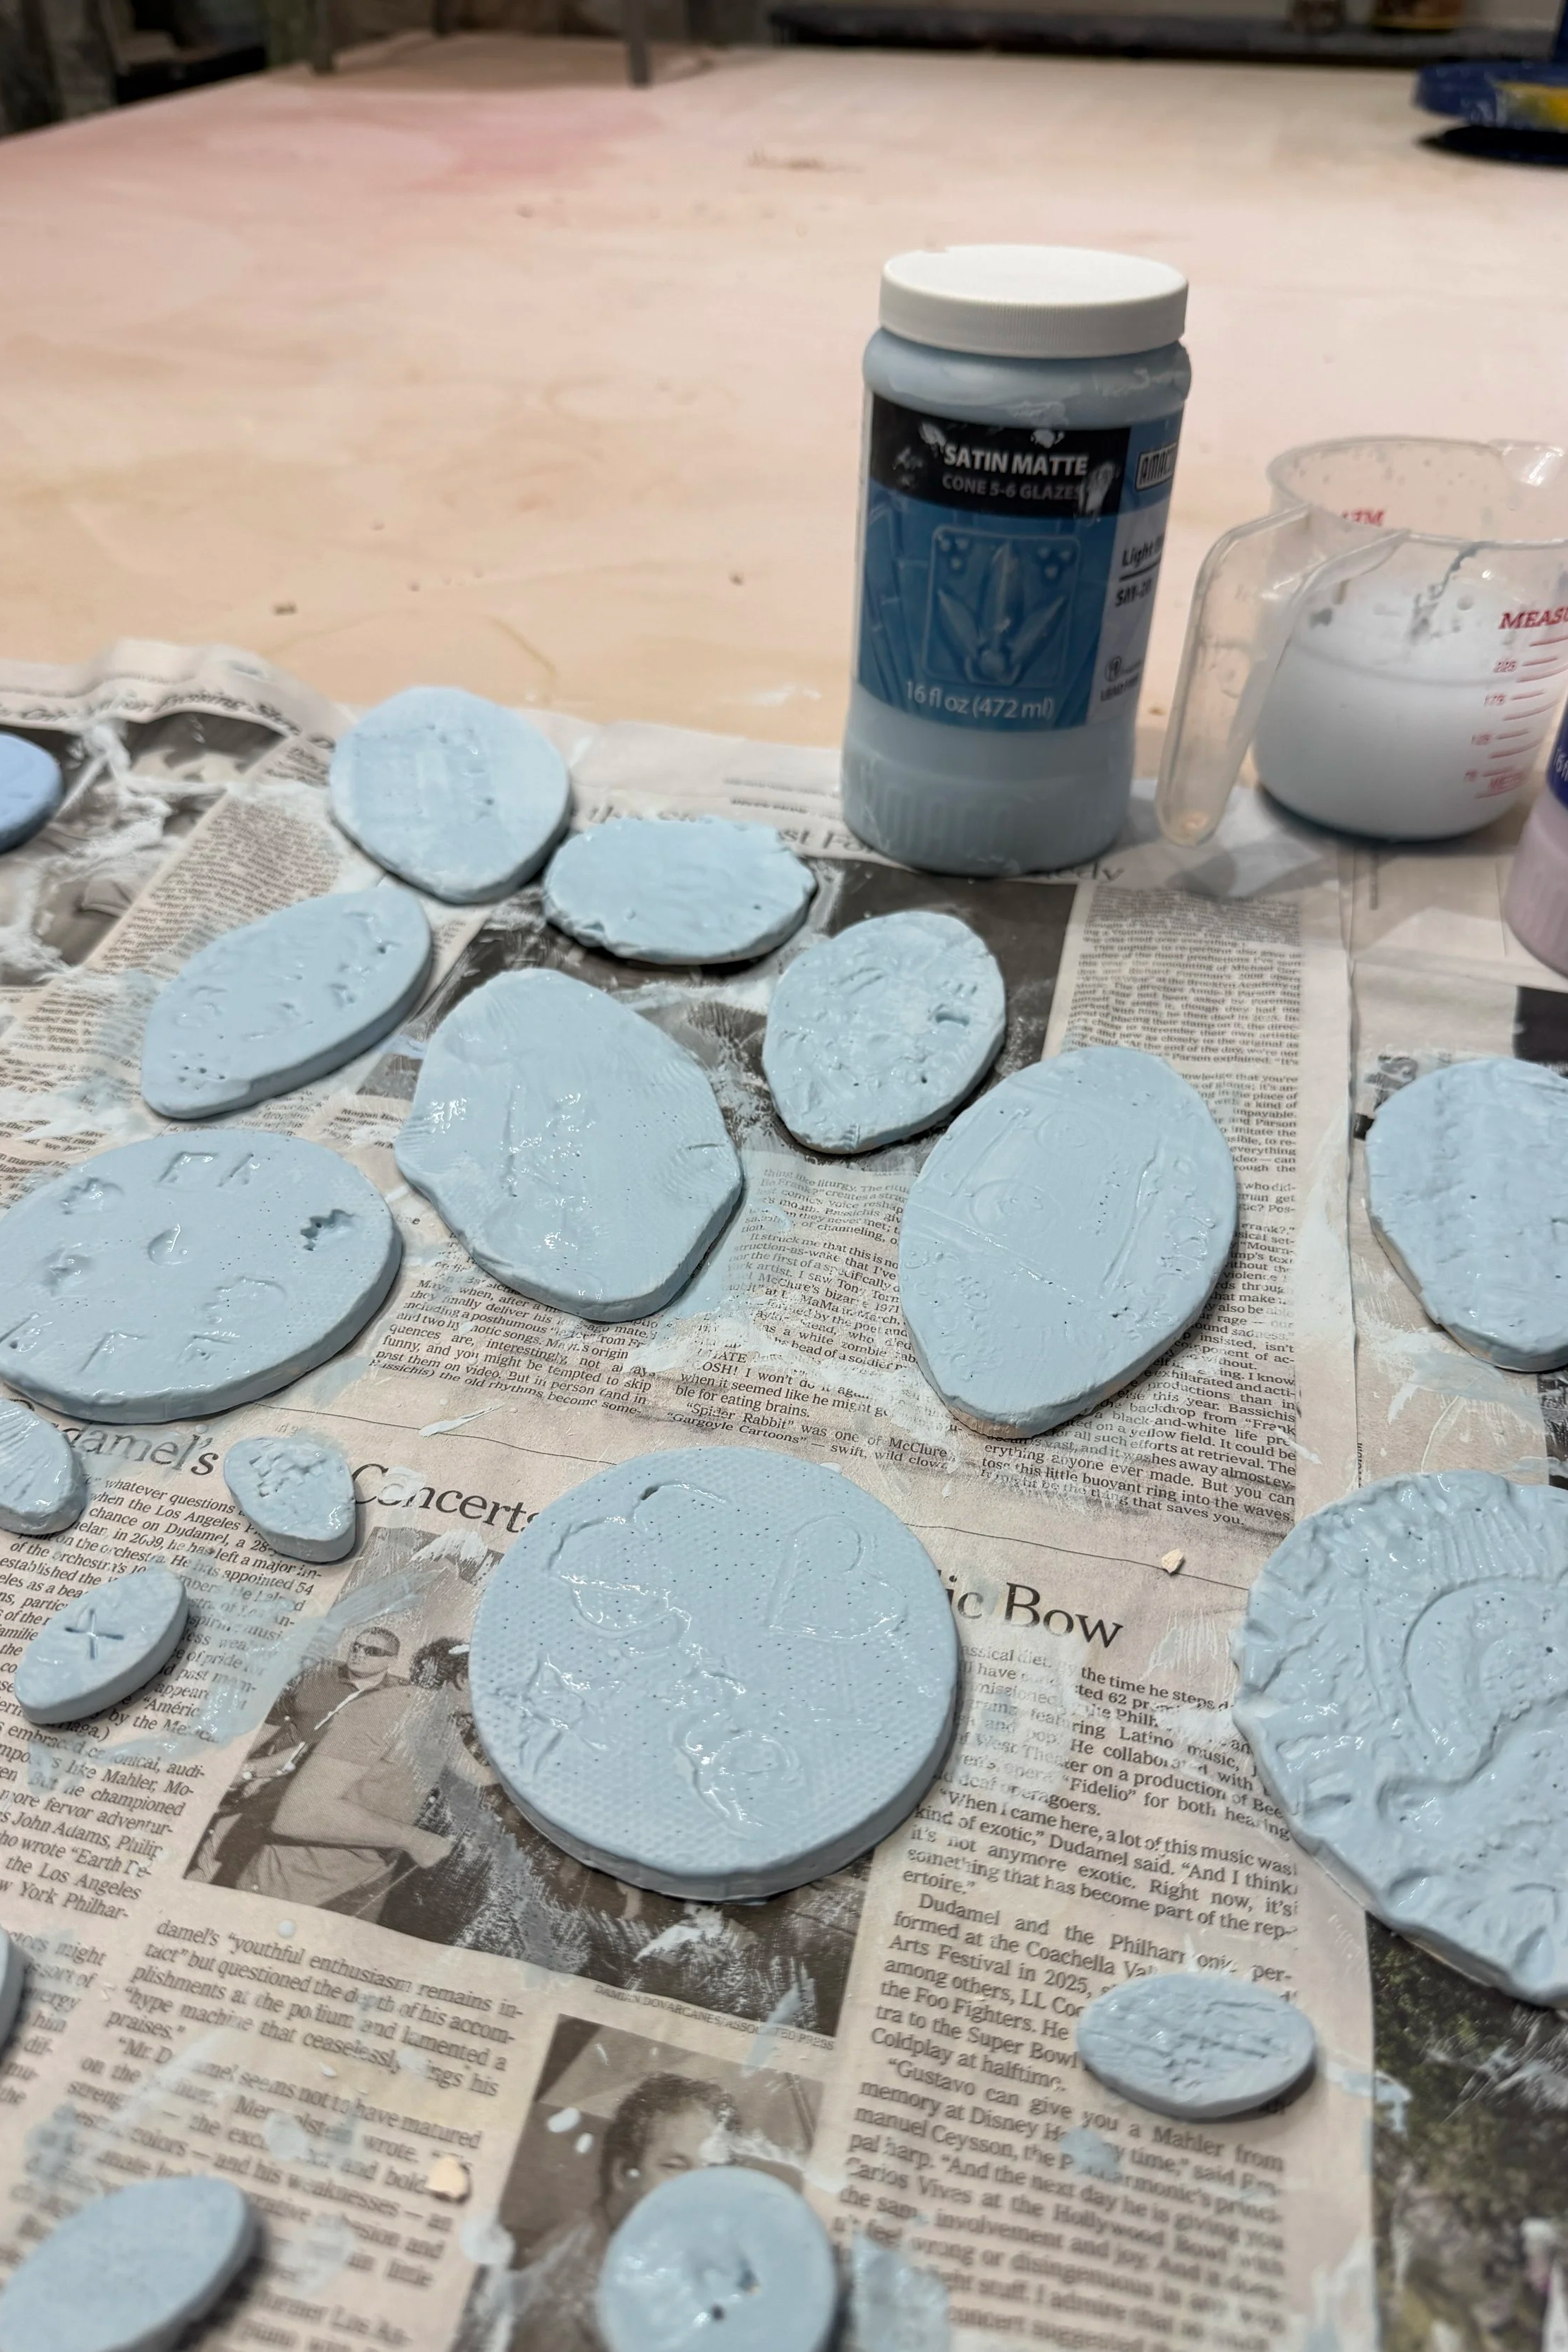
The team worked together to select two gradients of blue glaze that would complement the painted portion of the mural.
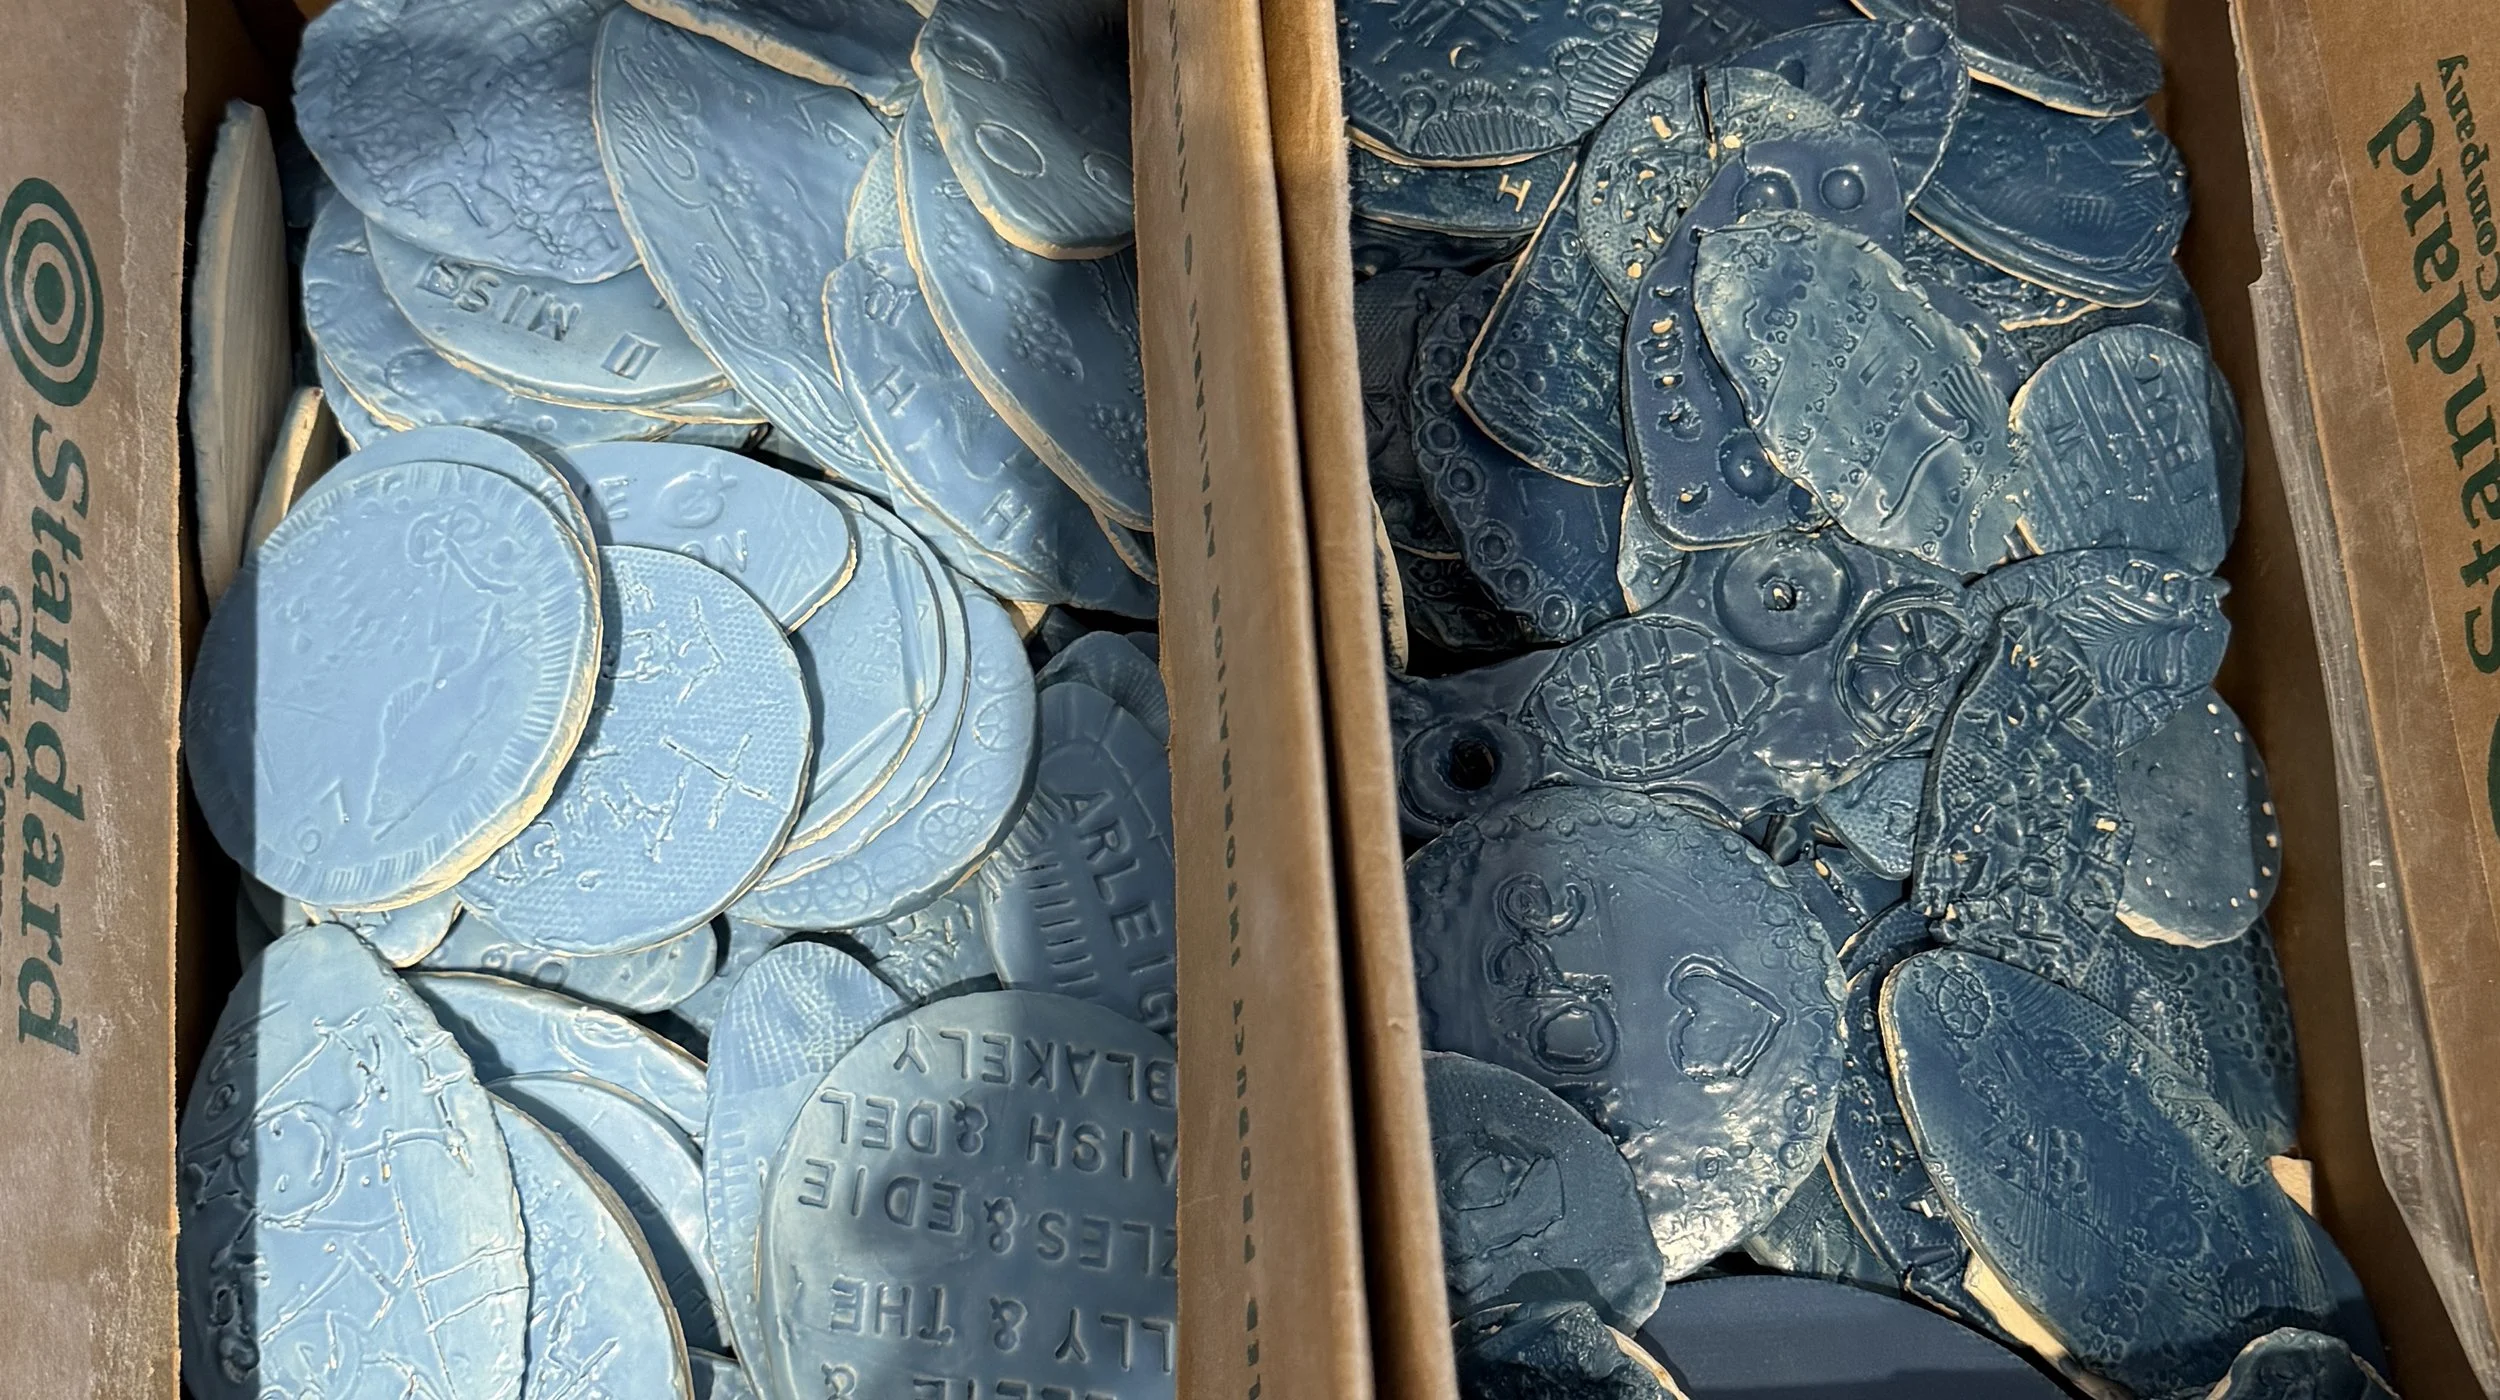
Petal Design & Installation
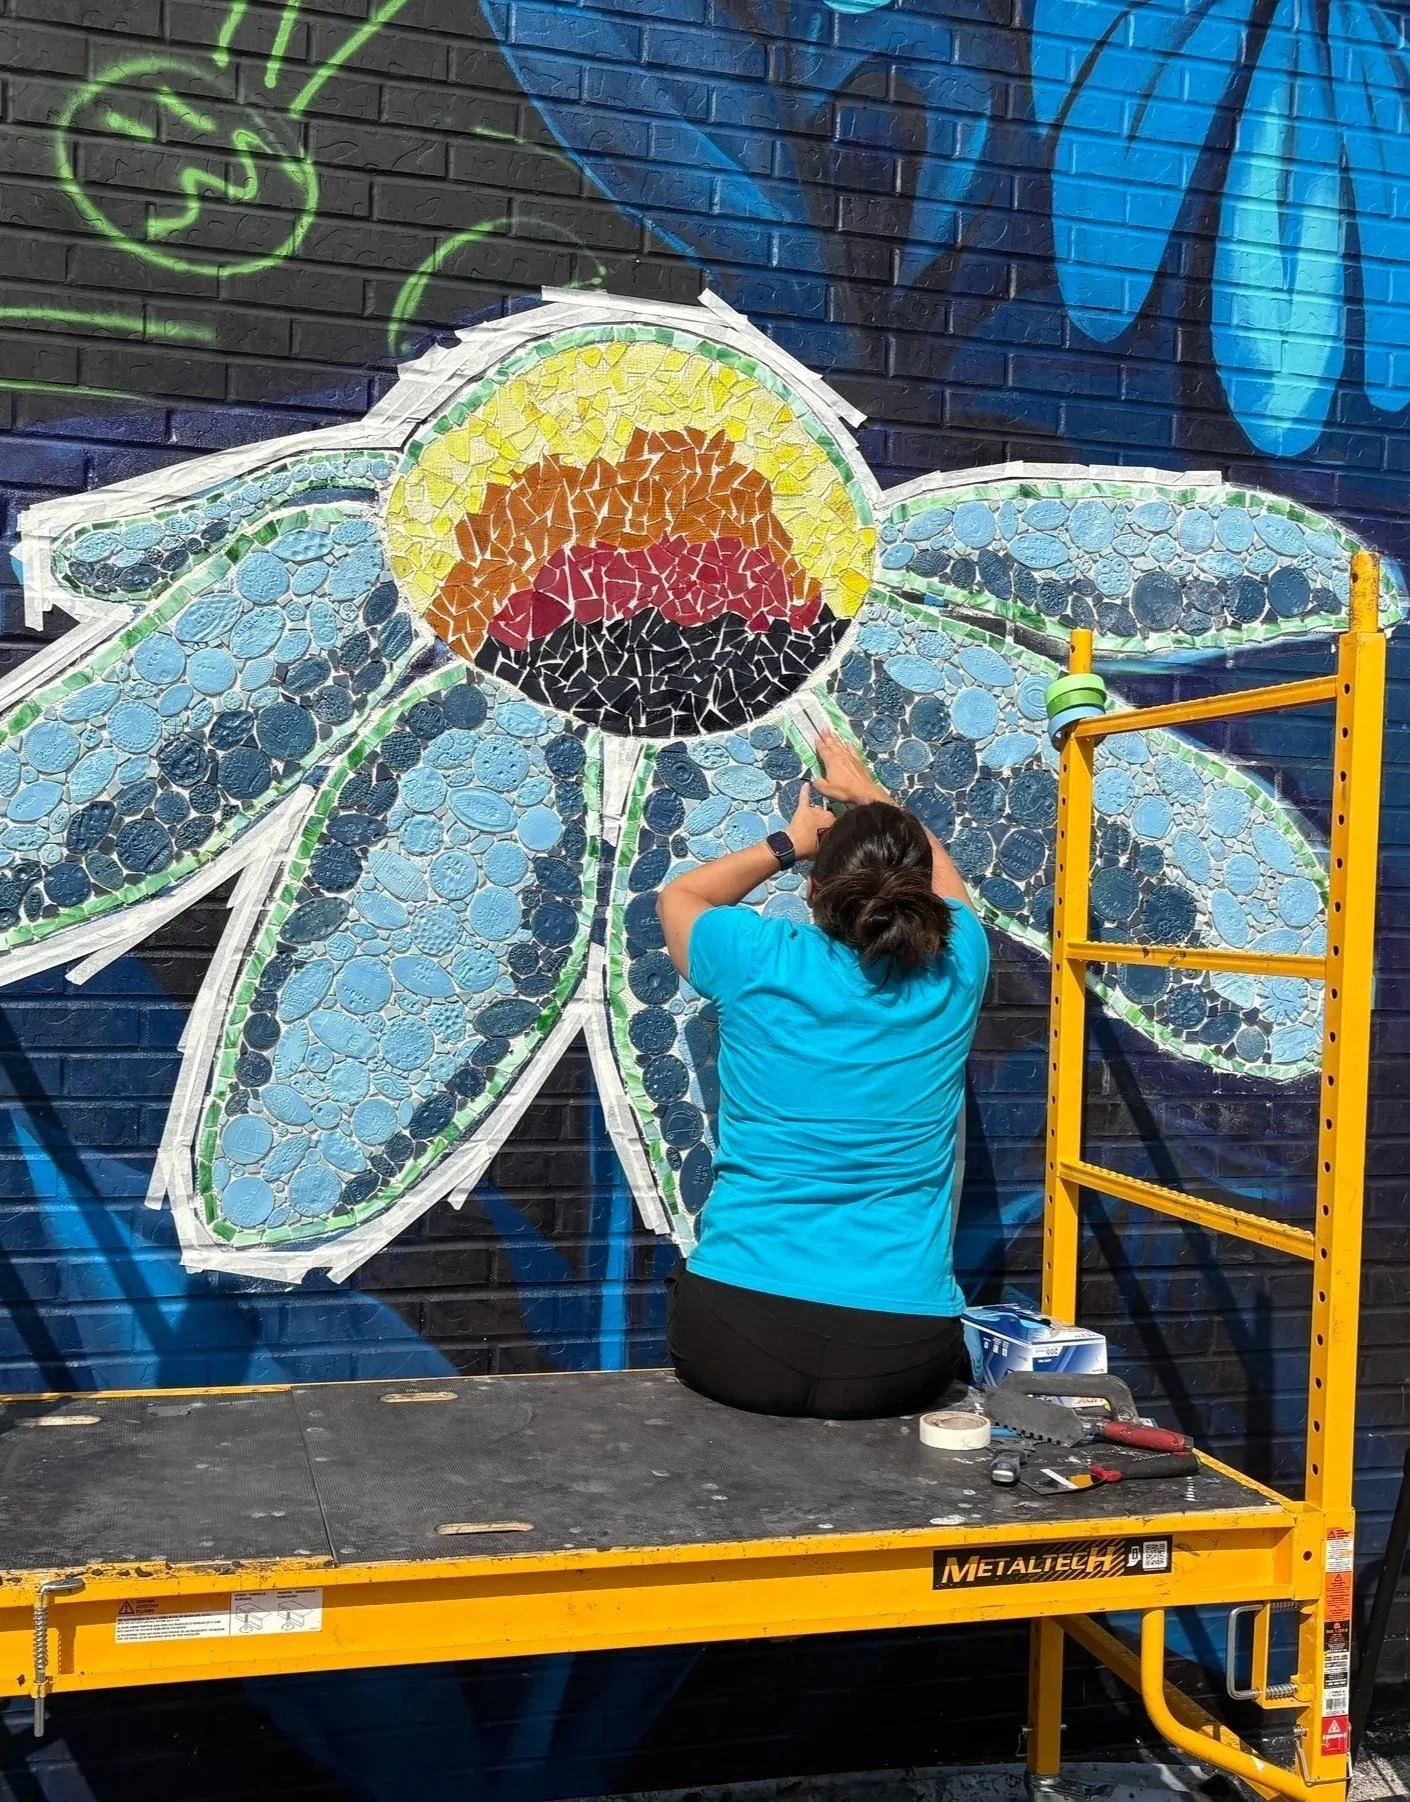
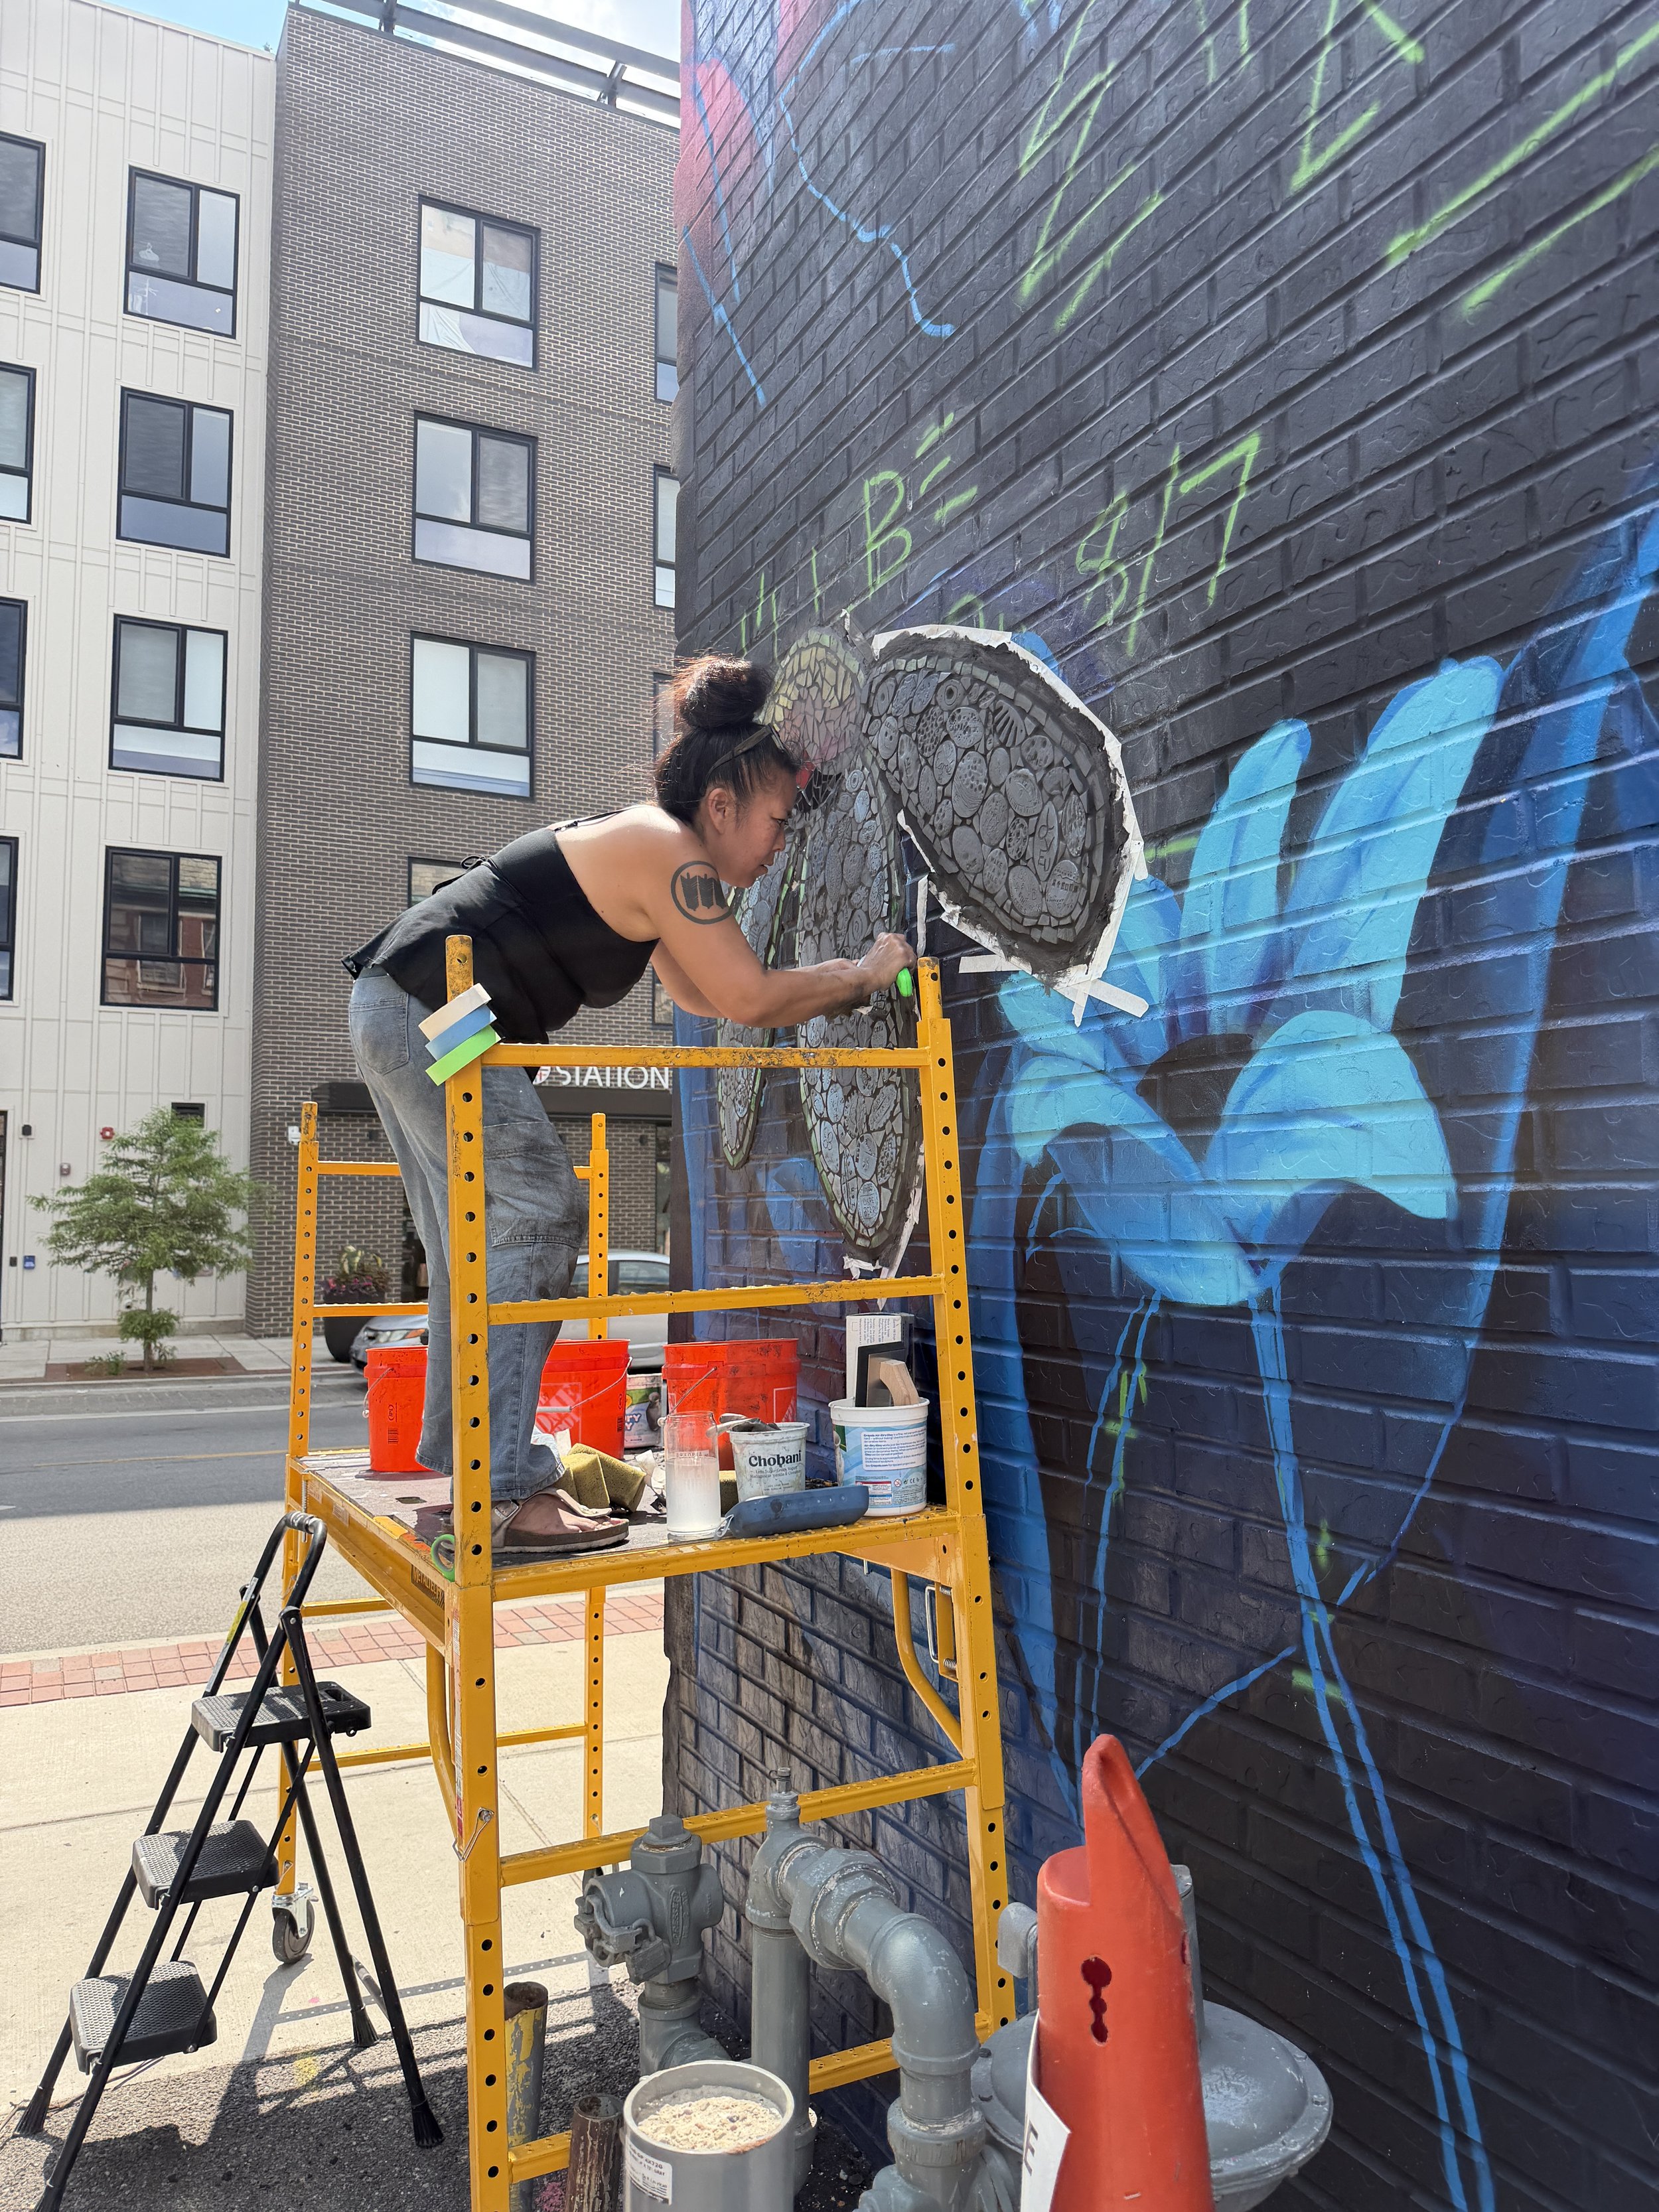
Once the tiles were finished, we brought them back to the studio, and Hope began mapping out the flower mosaic patterns on the wall. While Oscar was outside painting, Hope and our team were inside laying out and gluing each tile onto a mesh in the shape of the flower petals.
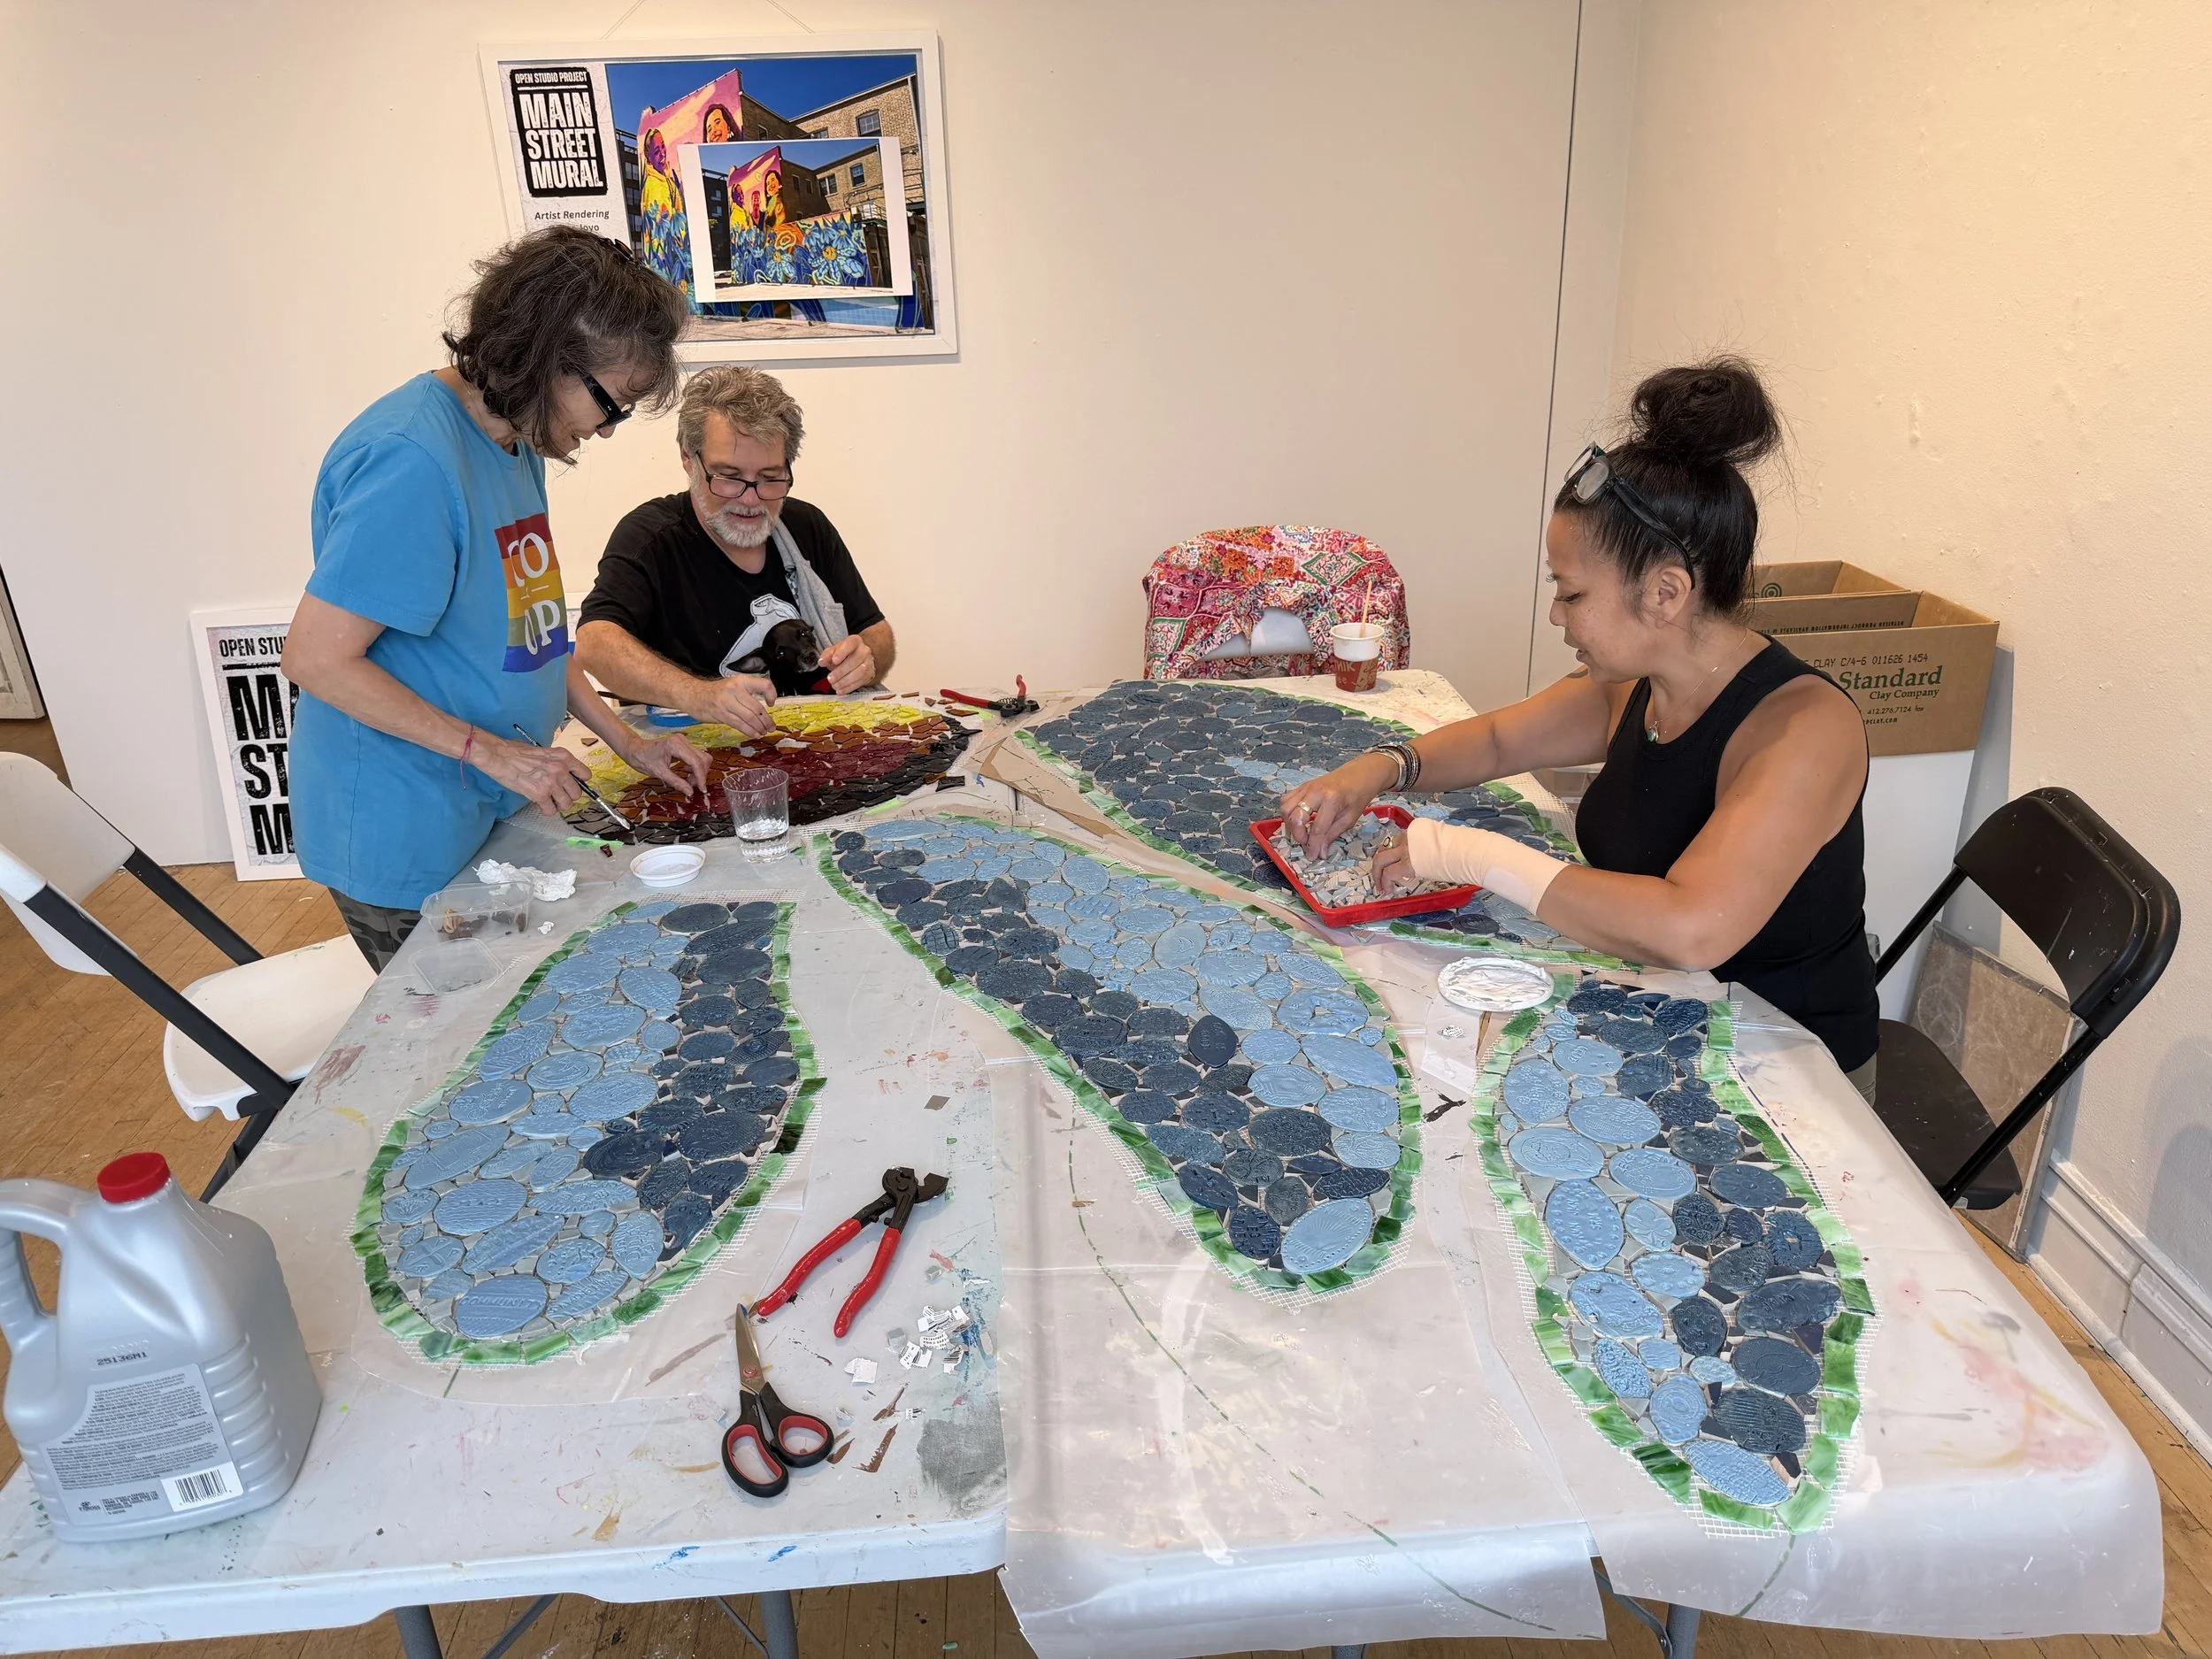
The team then took them outside and attached them to the wall using mortar. After that dried, they applied black grout to match the look of Oscar’s painted design, and then shined it up using some Windex.
Glass Mosaic Centers
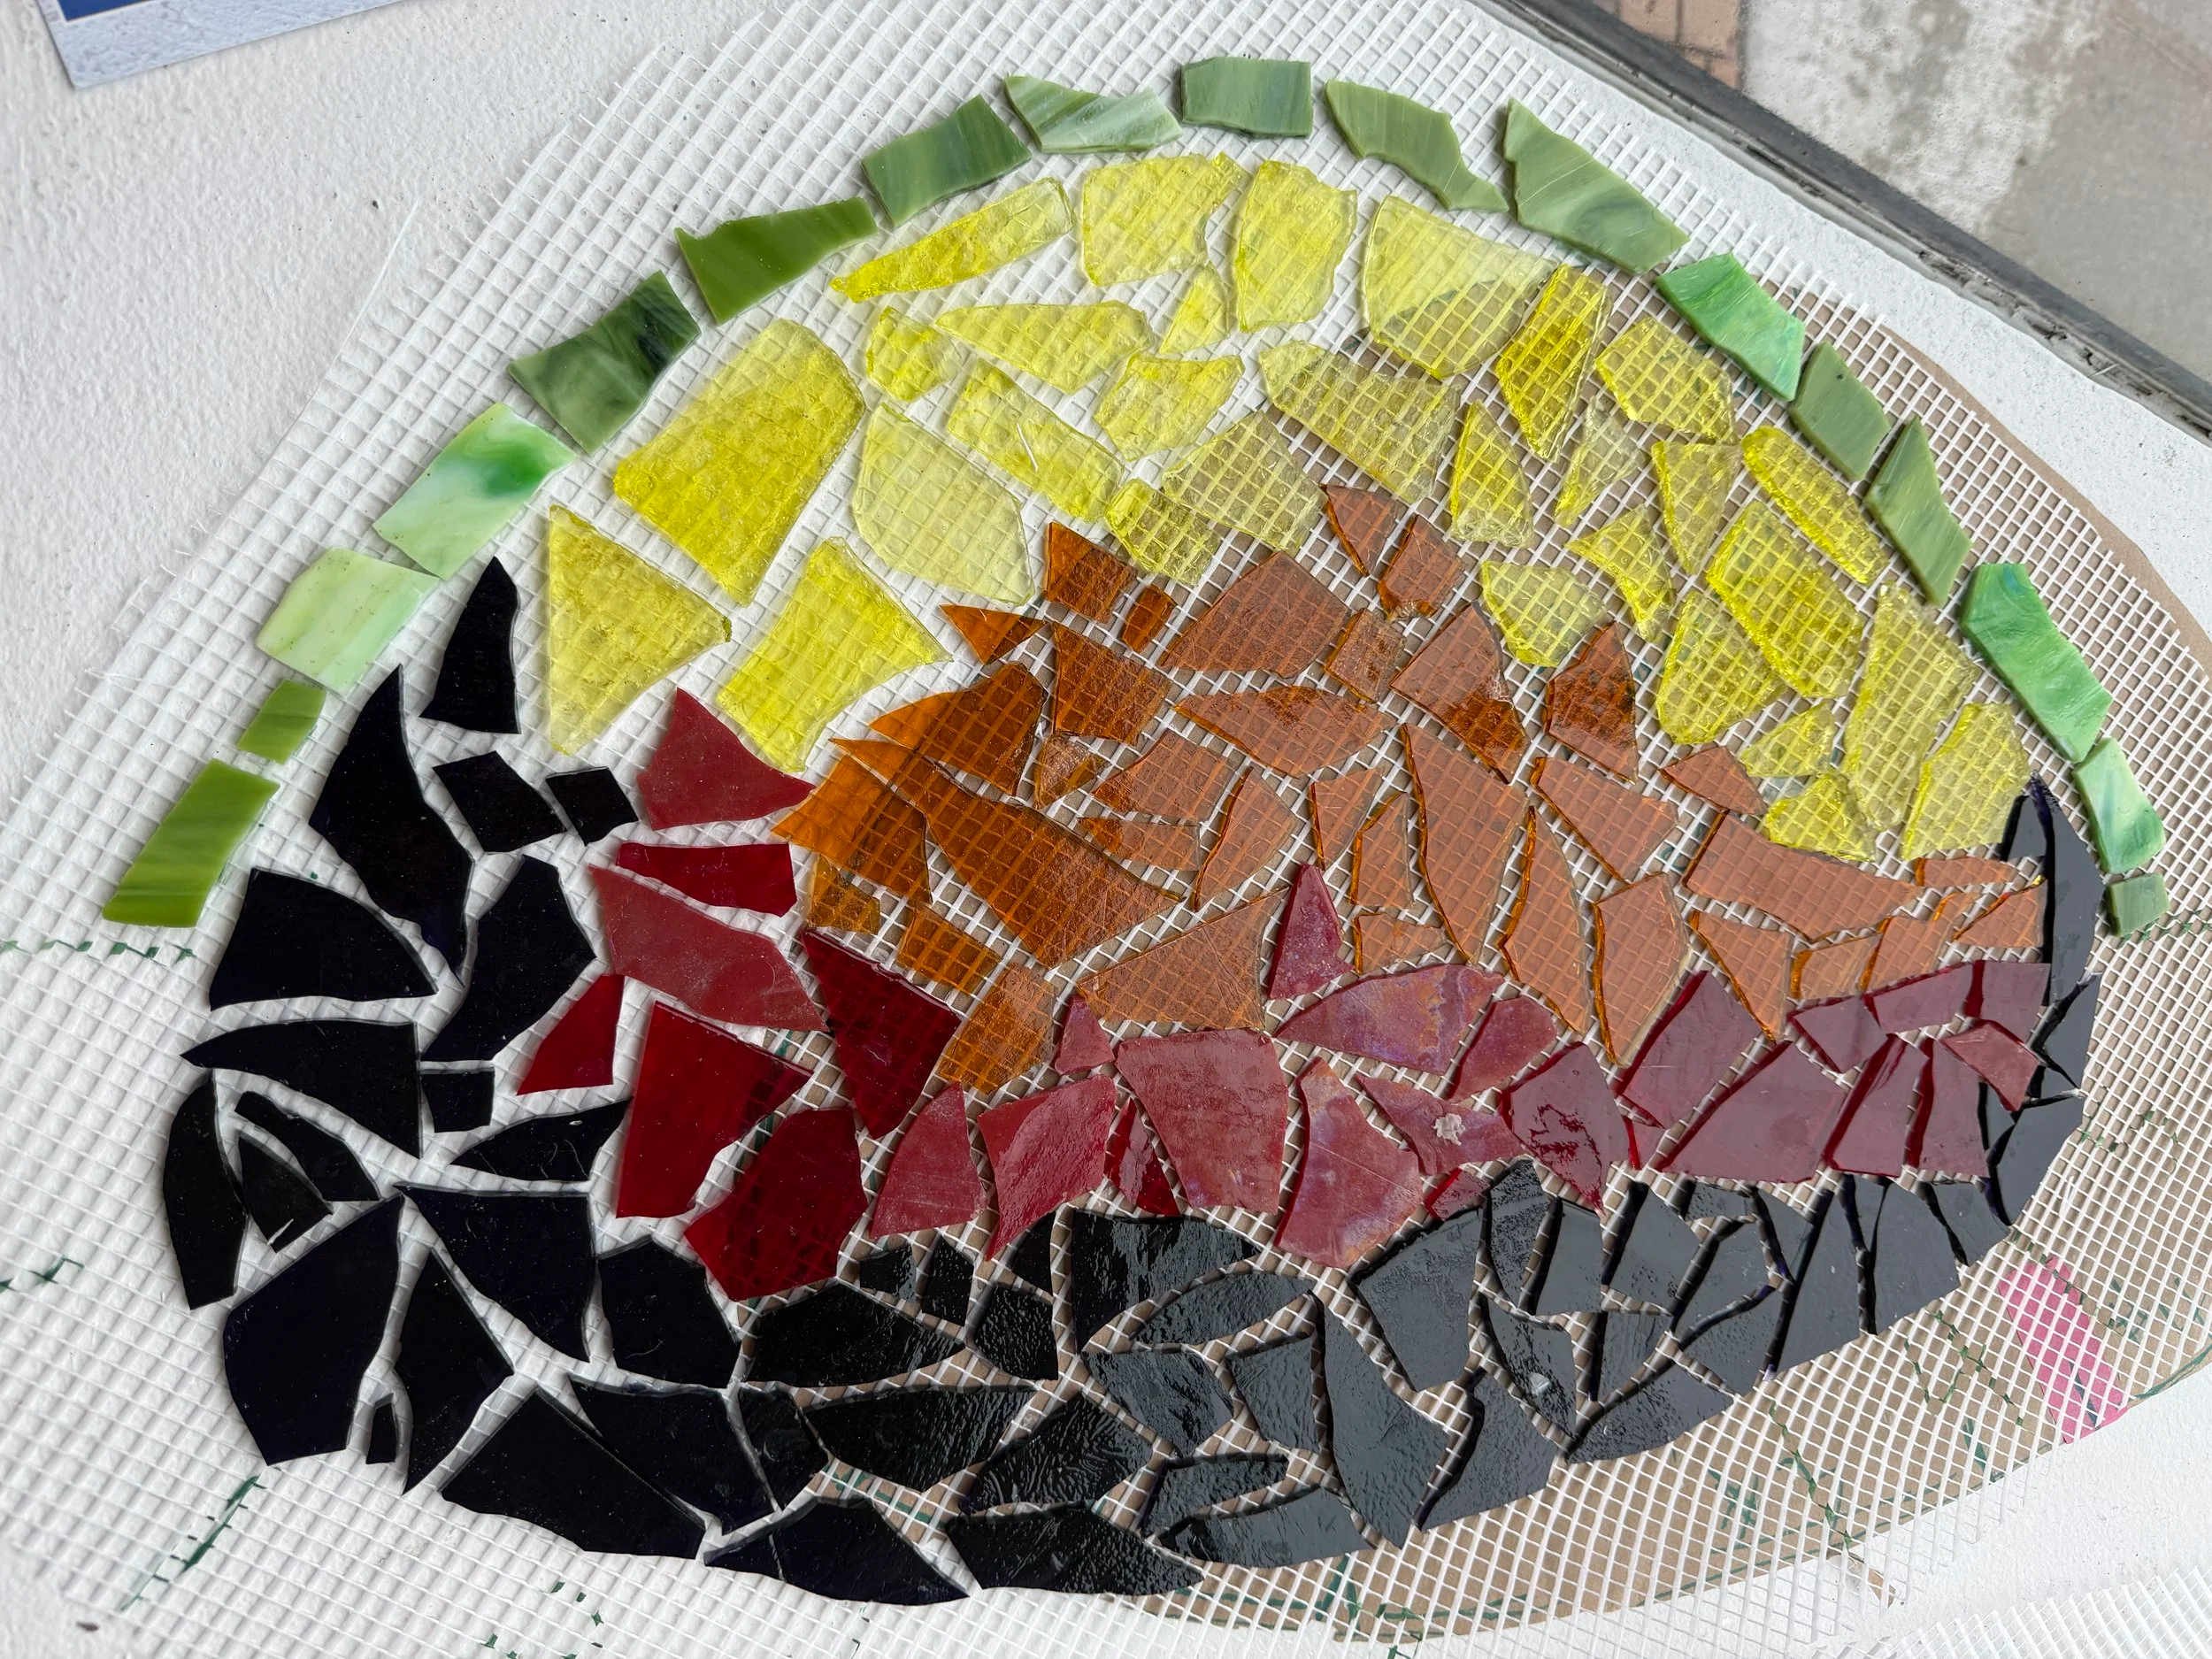
When it came time to create the center of the flowers, Hope smashed up a bunch of glass in the studio and then used the pieces to make the center of the flowers.
The glass was purchased from Kokomo Opalescent Glass in Kokomo, Indiana, which Hope has used in the past for her own mural work.
Initially, only the flowers that had tile petals were going to have glass centers, and the painted flowers would have painted centers.
But as the installation process continued, Oscar and Hope both stepped back and agreed it would look better if all the flowers – painted and tiled alike – had glass centers. So, more glass was broken, and more beautiful centers were installed!
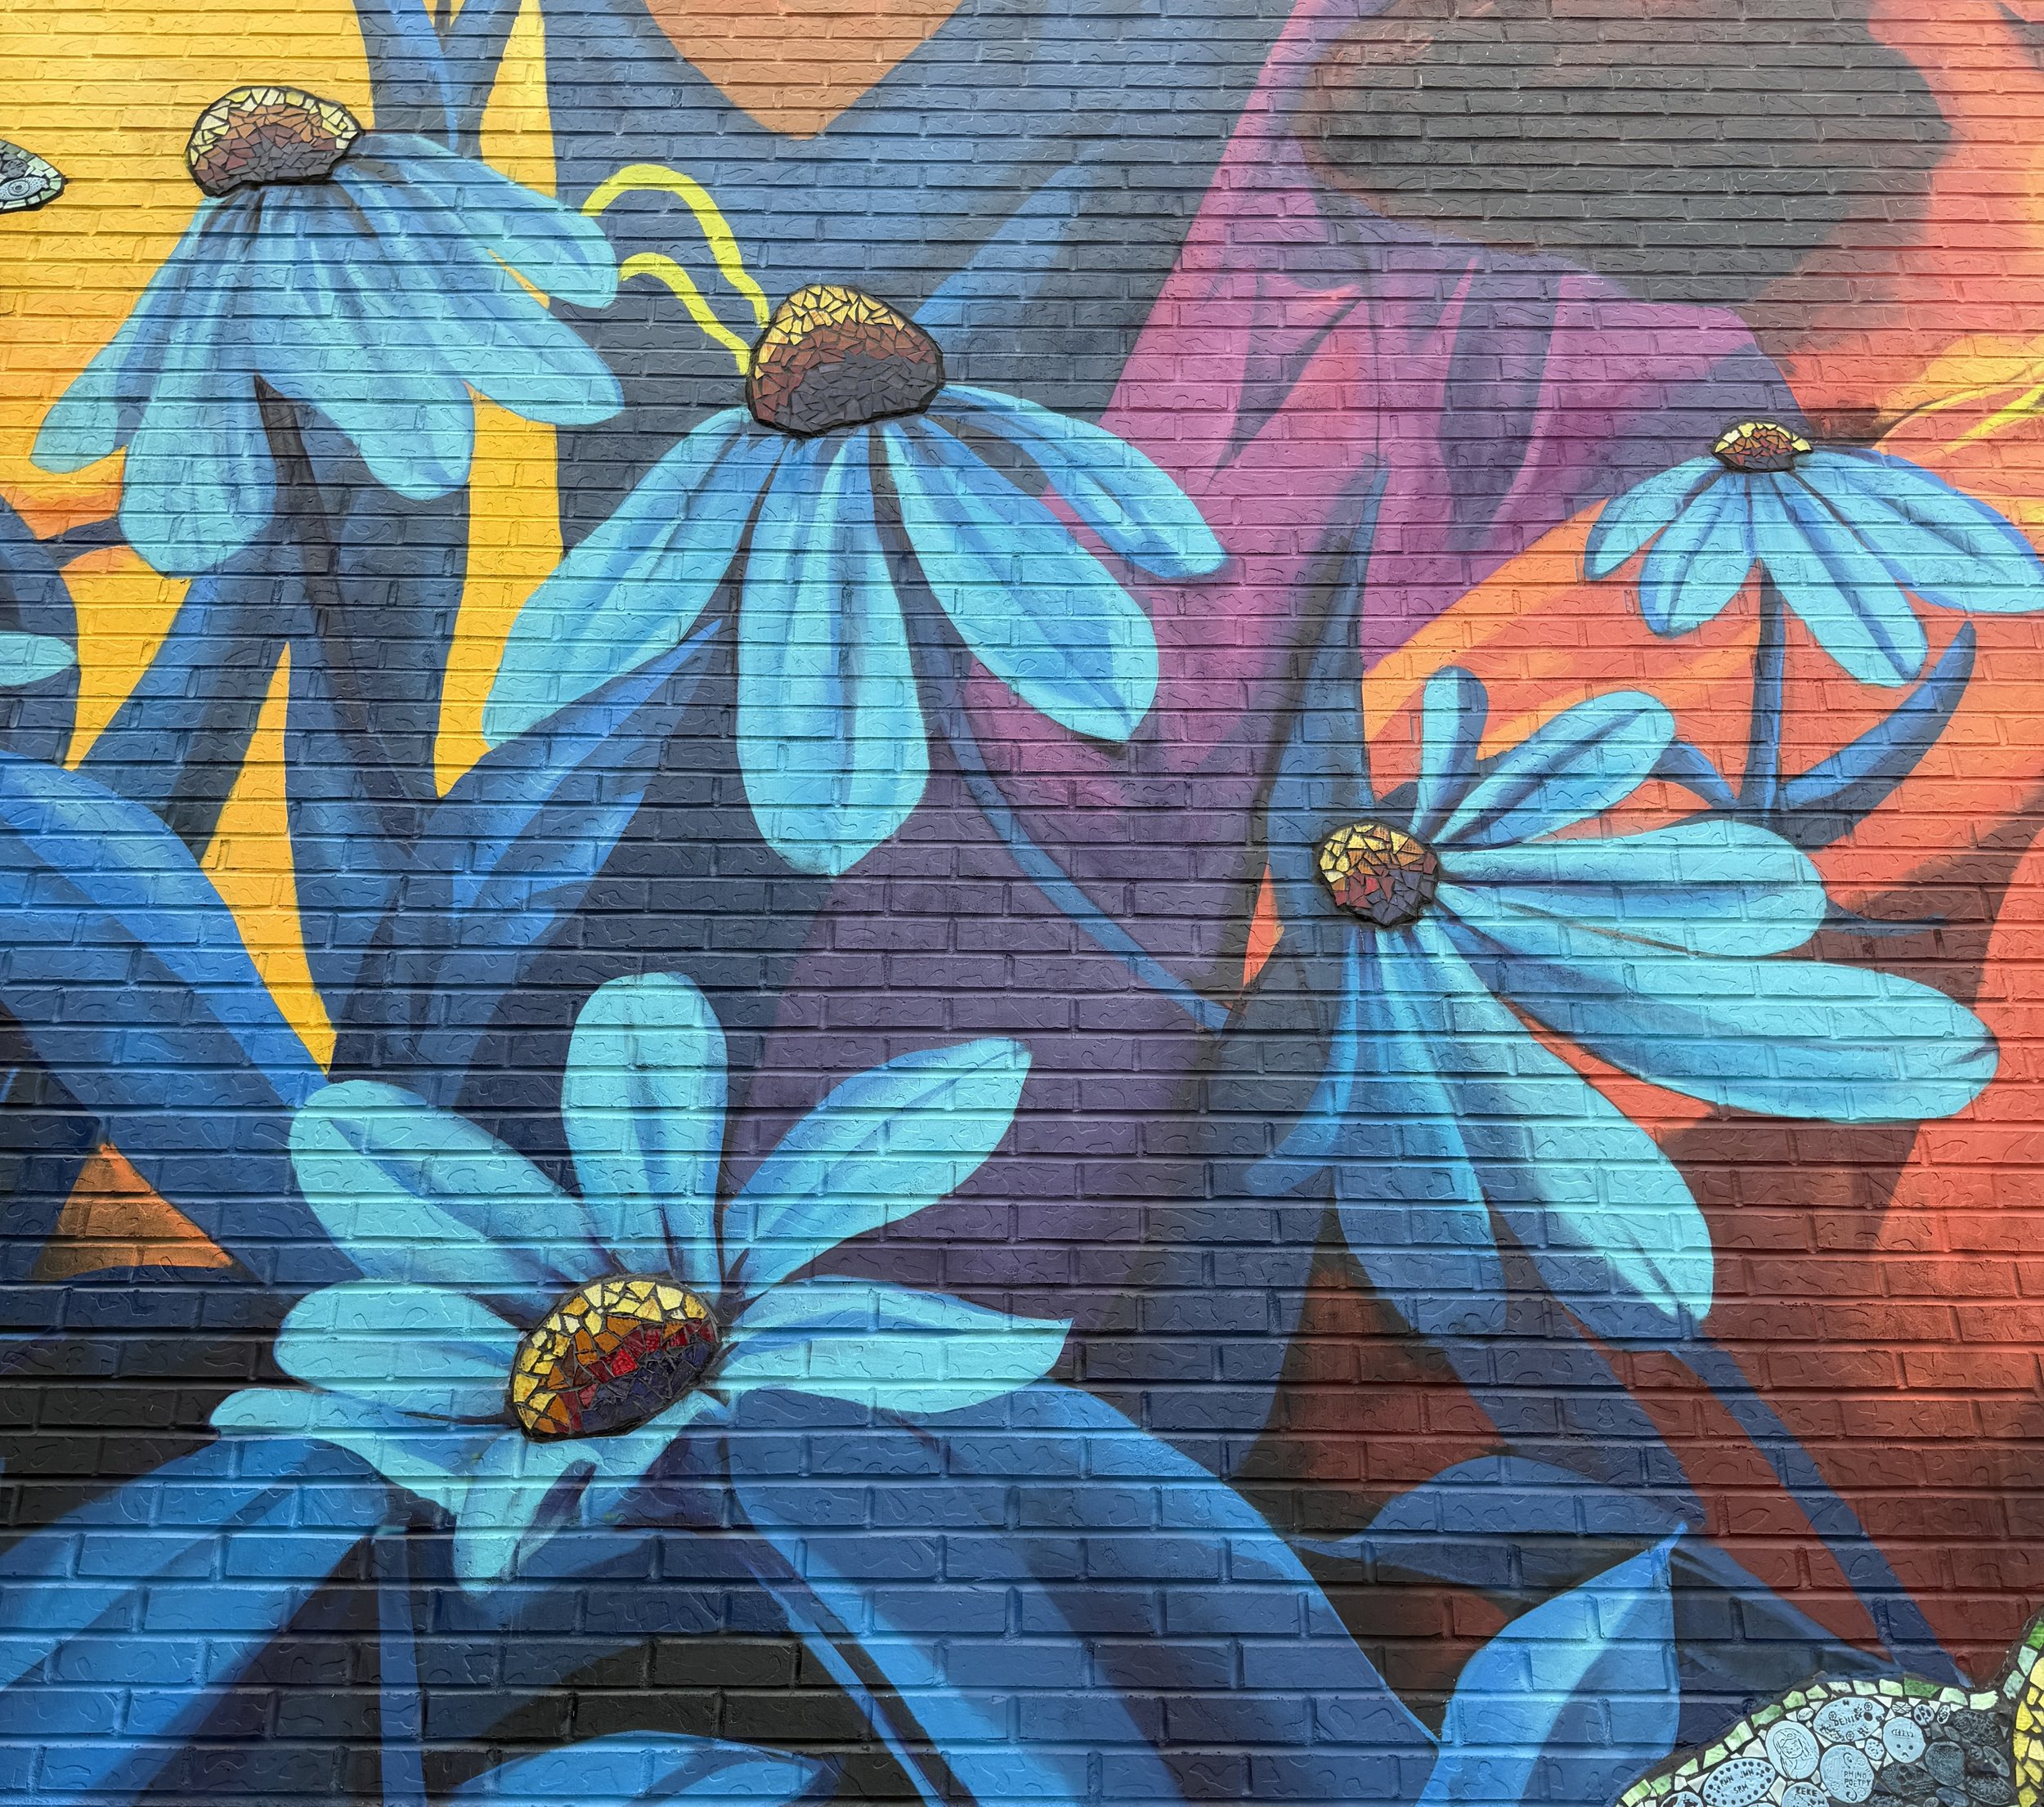
Since many of the painted flowers were high up on the mural, this change in plans required Hope to climb up on the lift to apply over 15 glass mosaics. But, we think it’s safe to say that she had some fun up there!
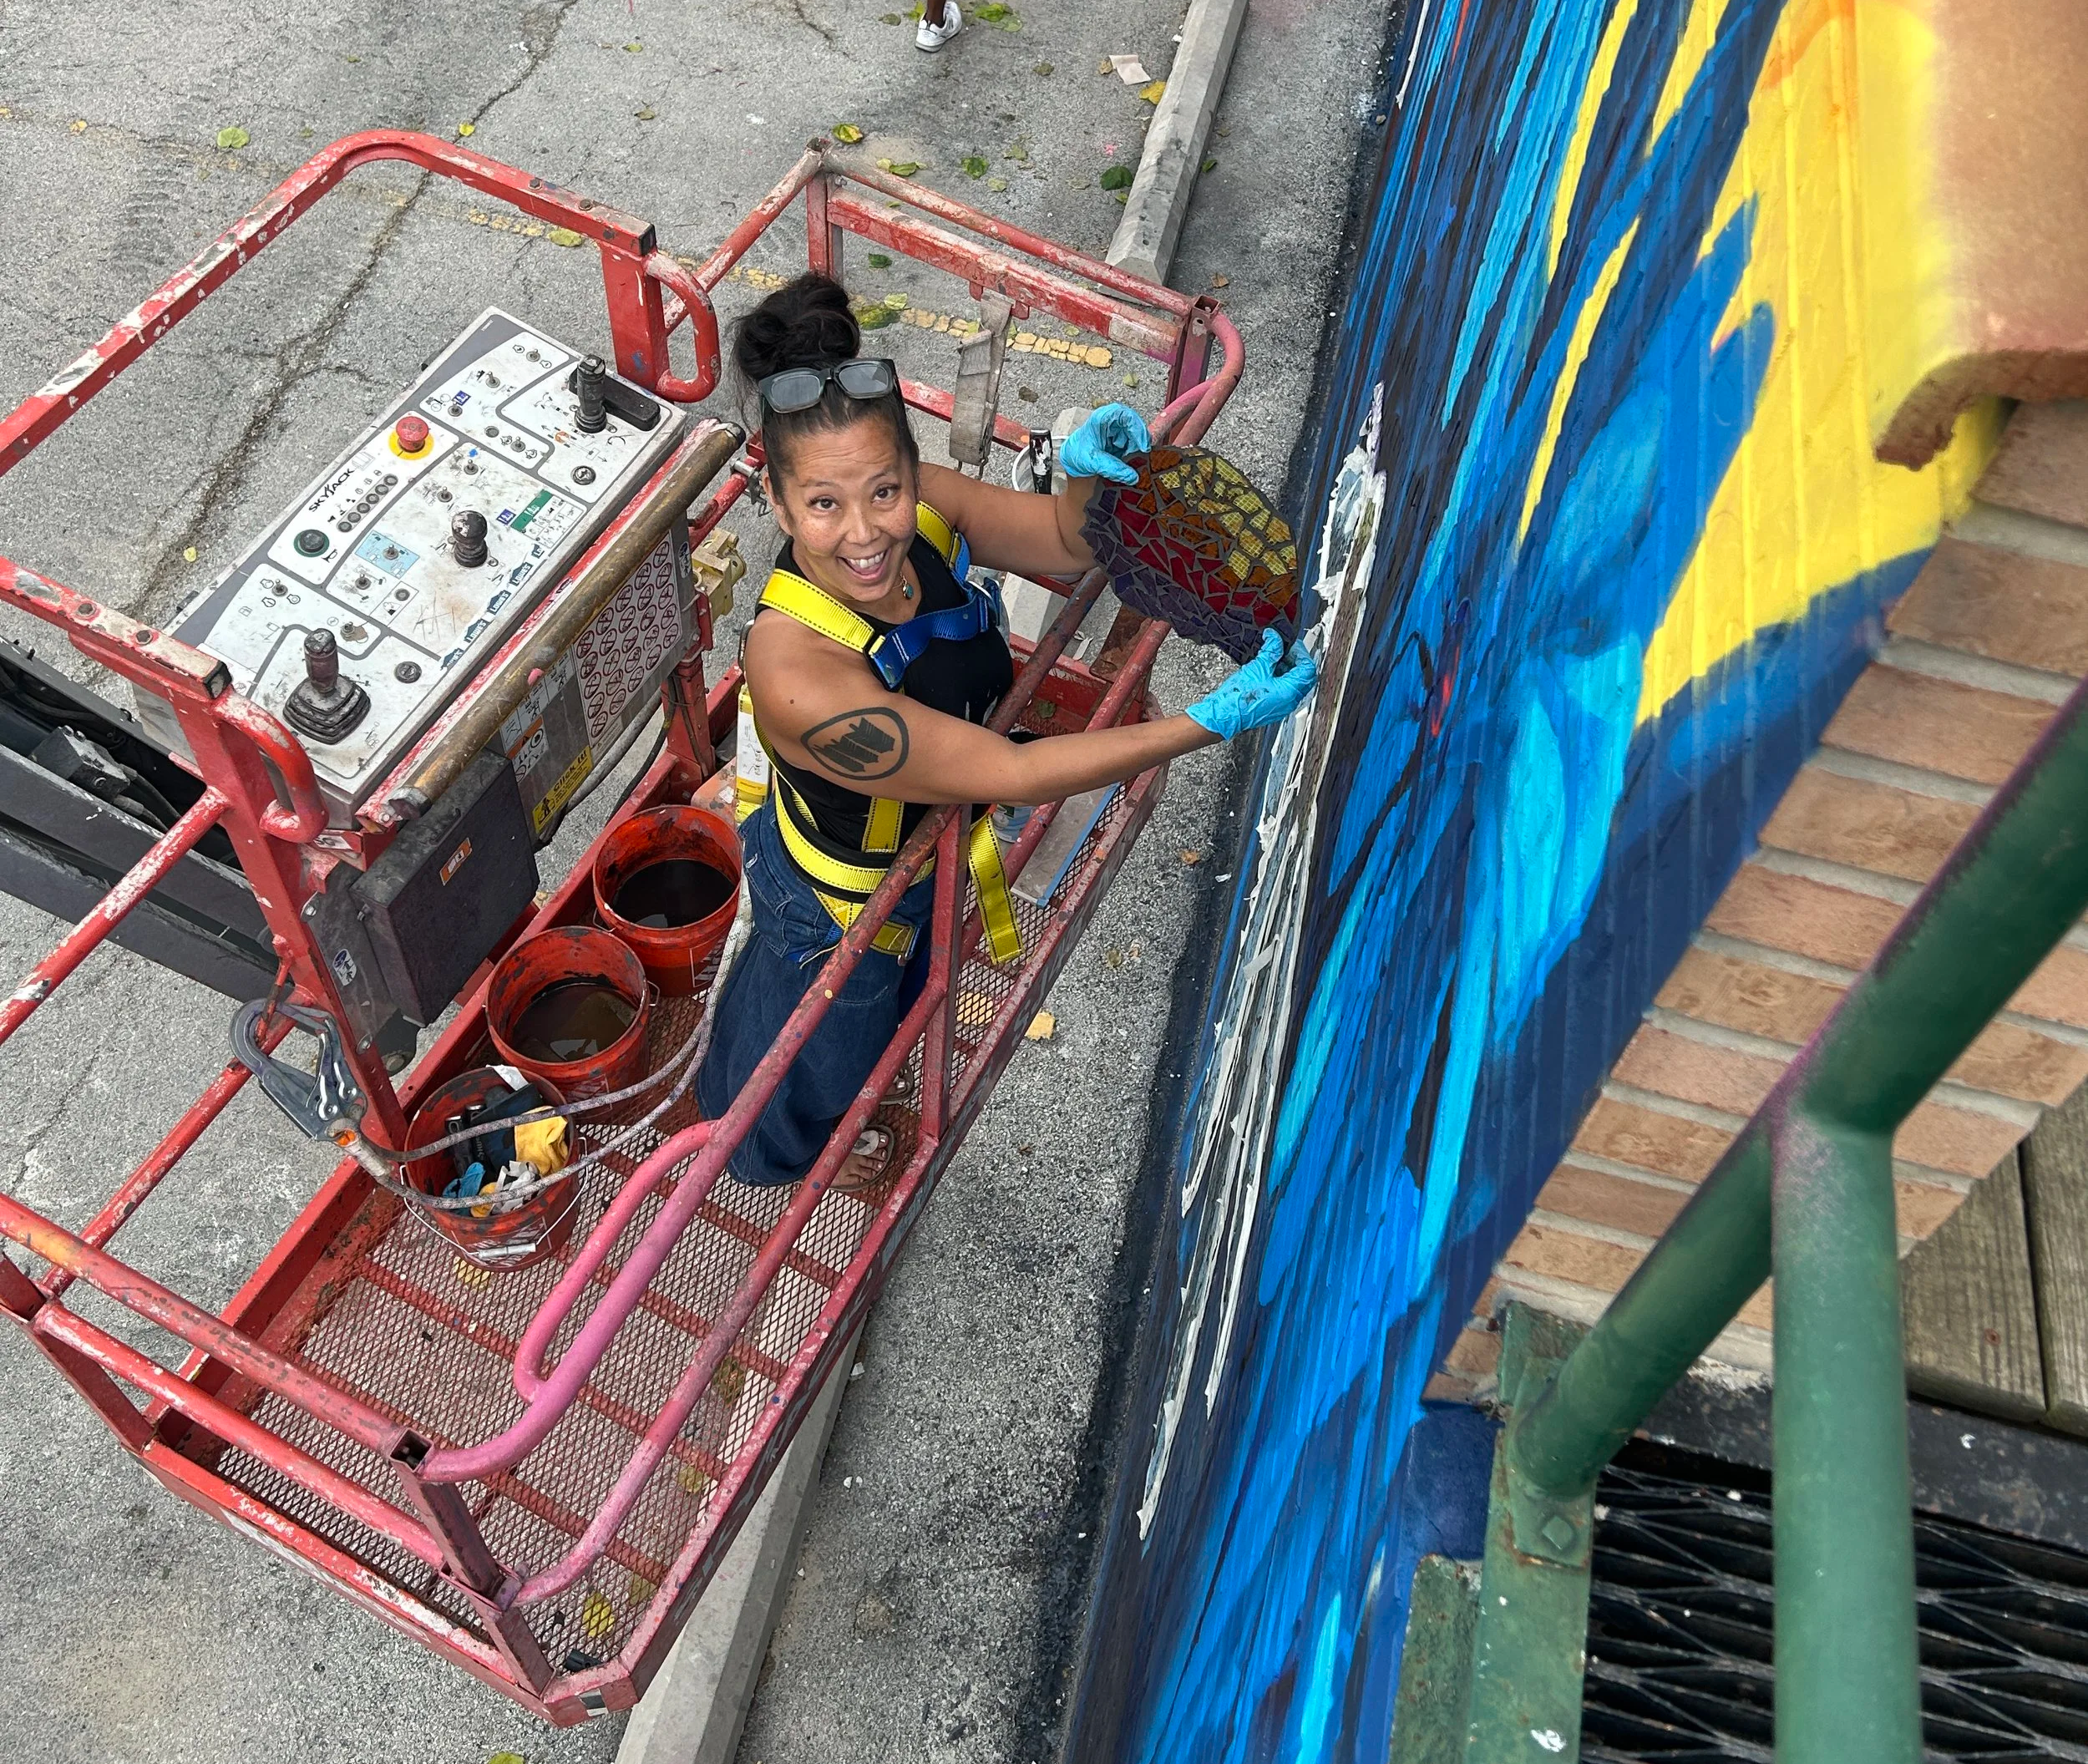
In the end, the tile mosaic is one of the many things that make this mural so special. We love the way it tells the story of our community through so many different lenses. Thanks to everyone who helped make it possible!